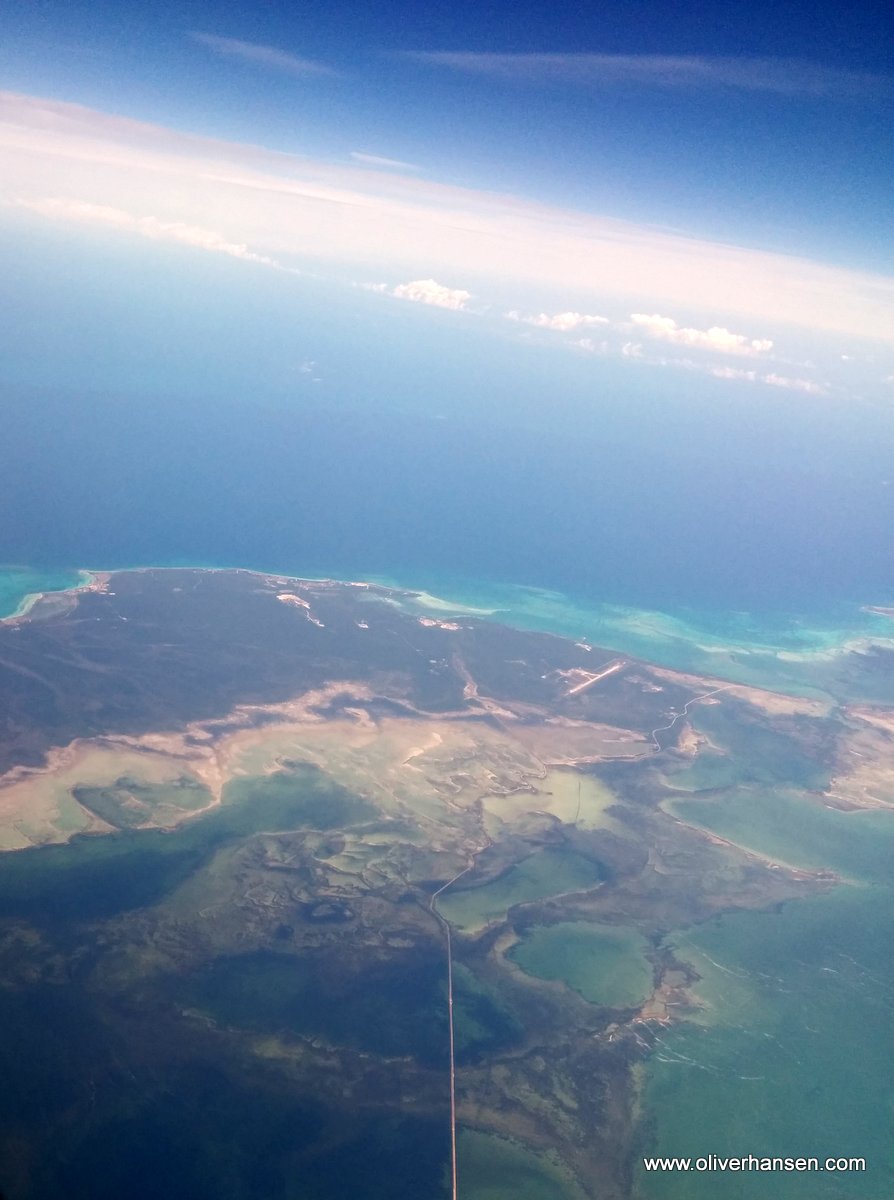
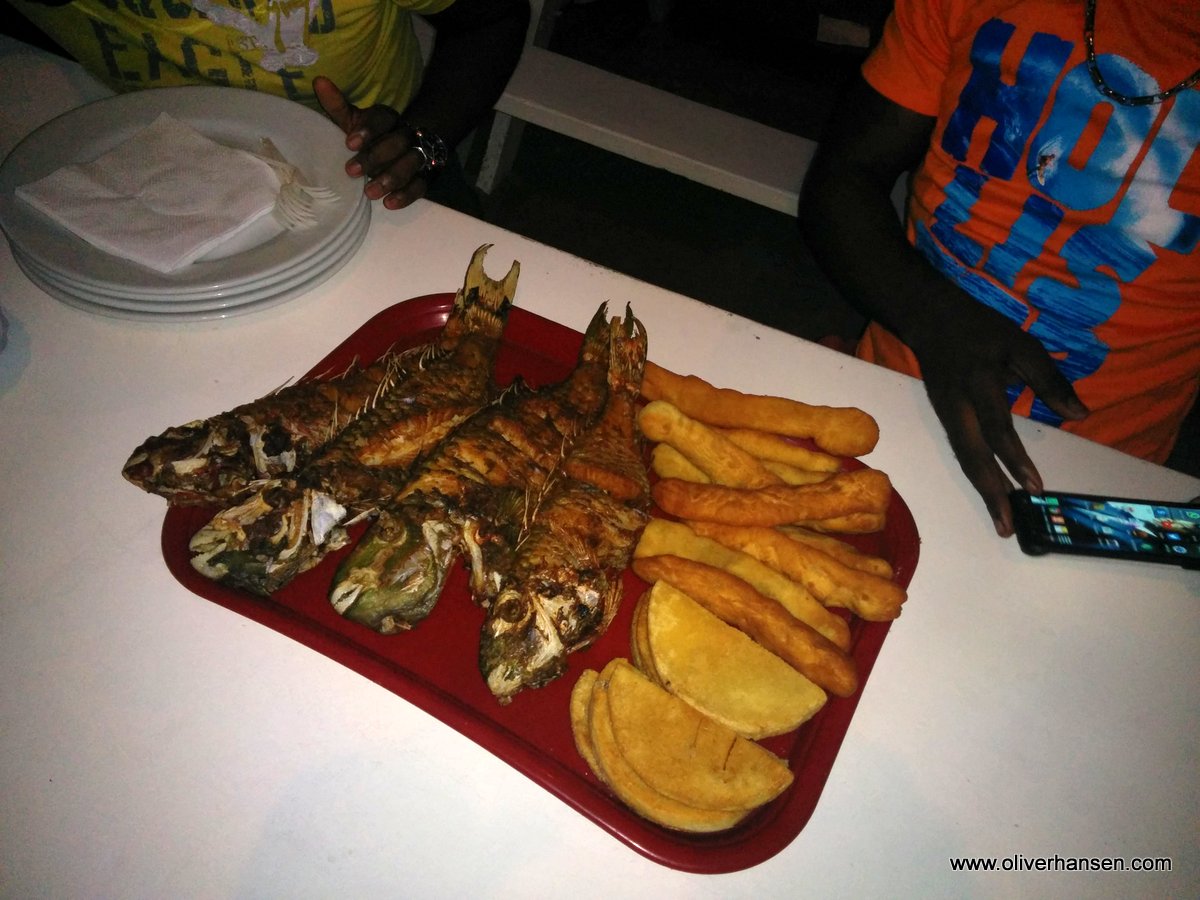
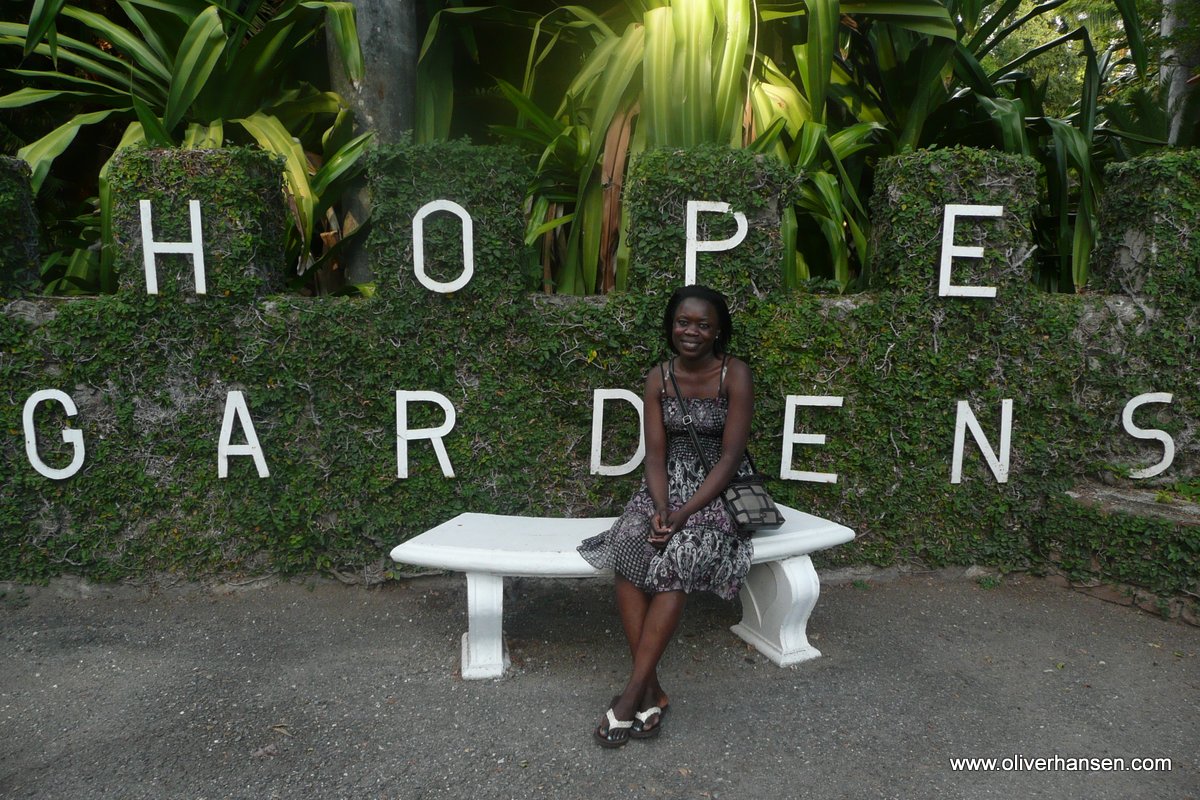
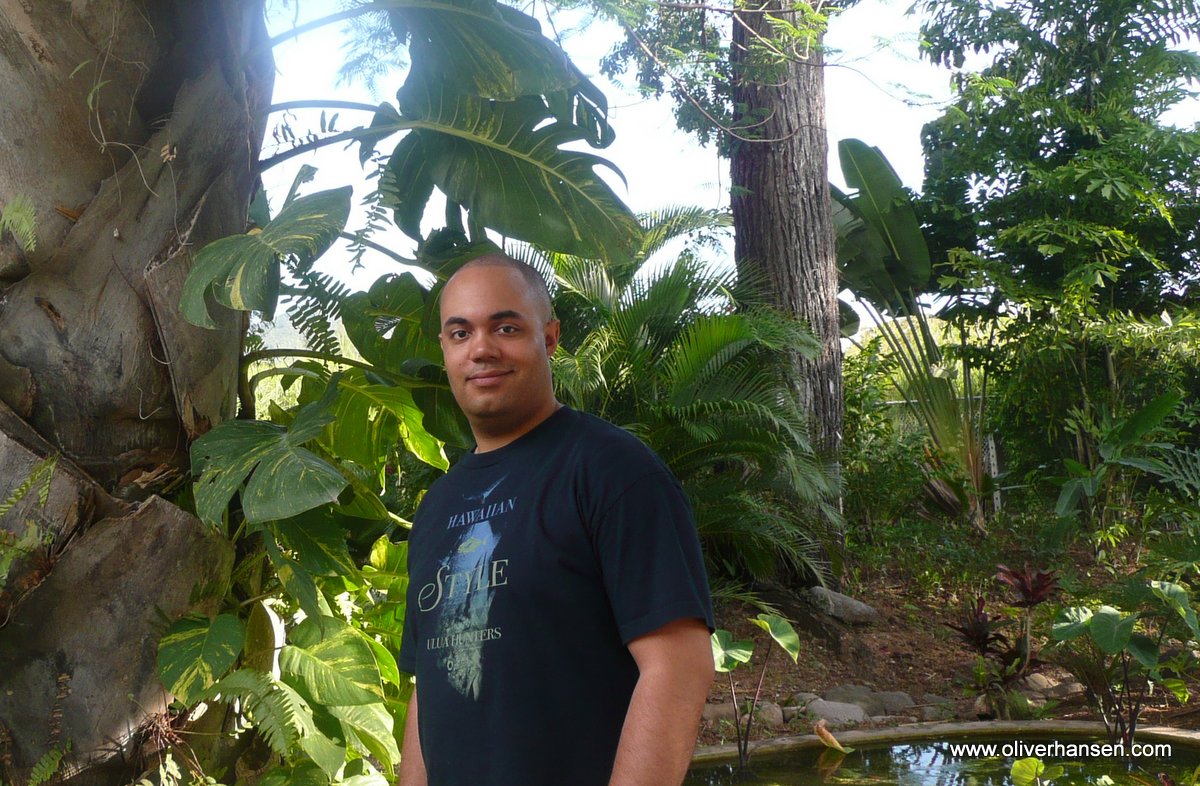
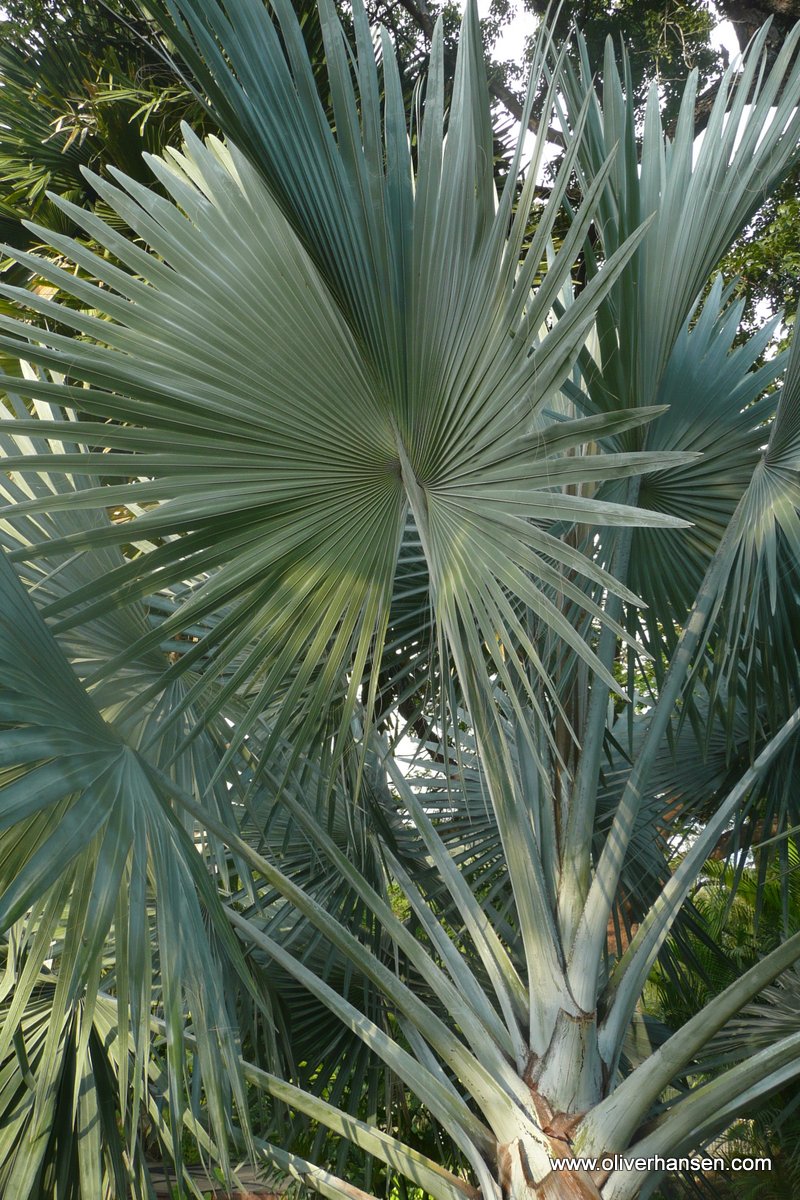
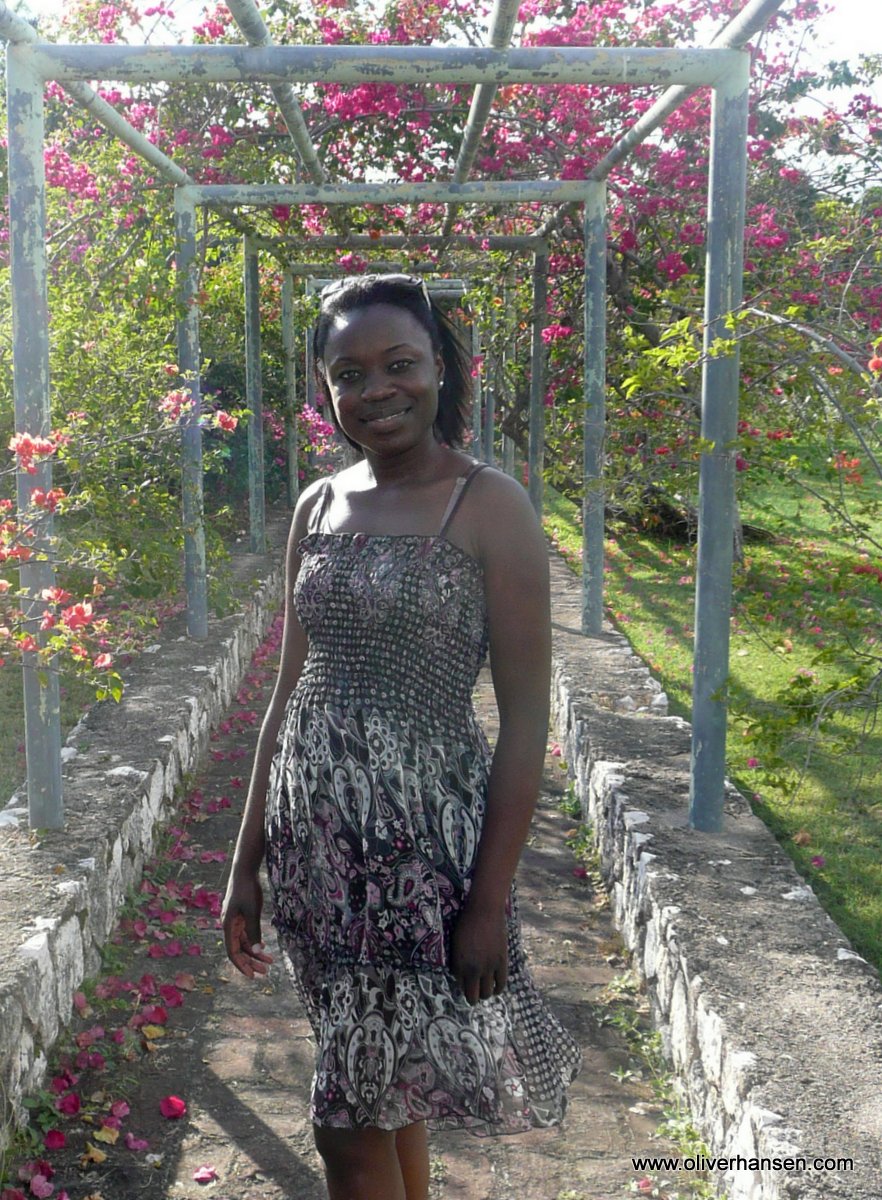
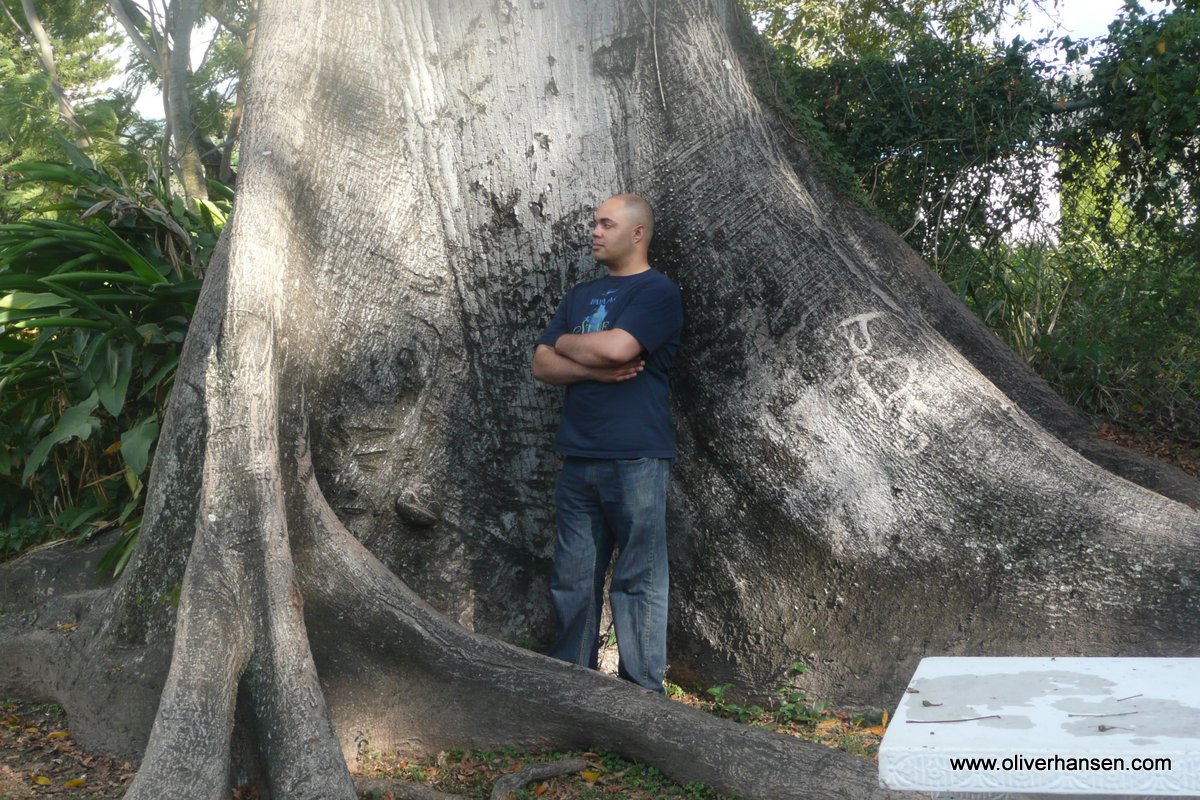
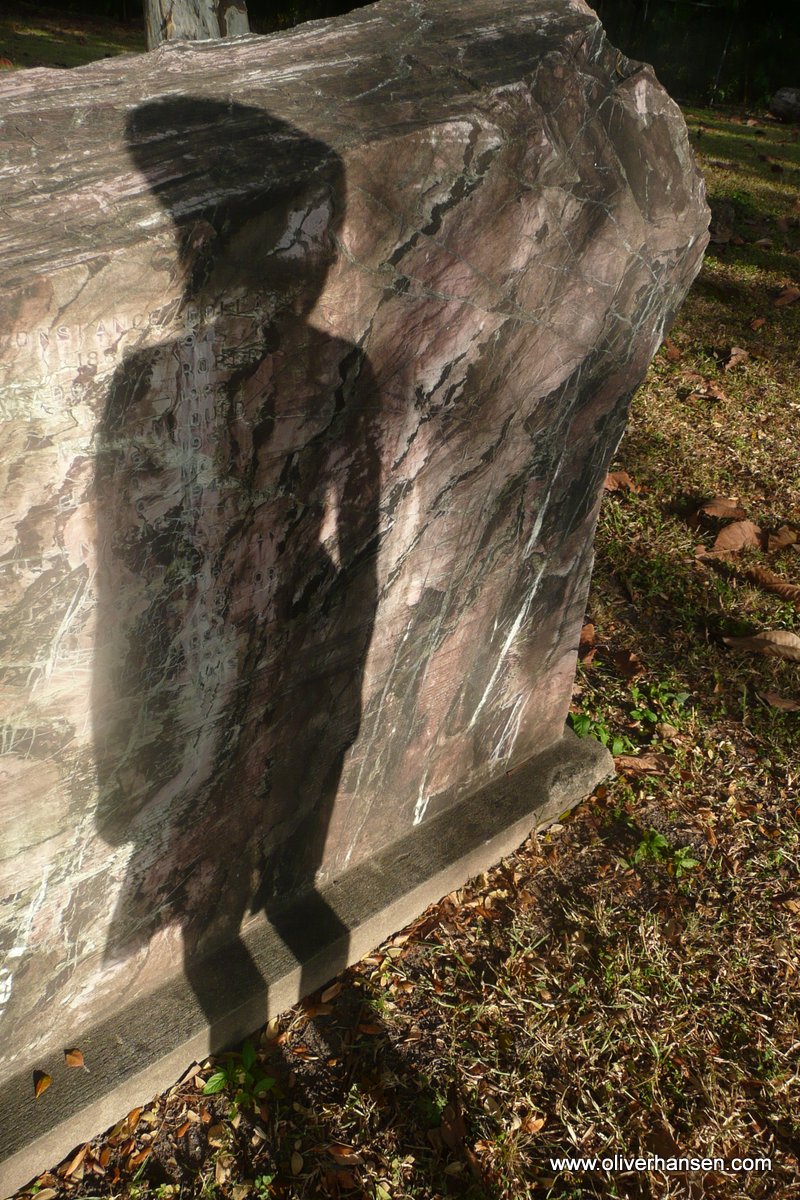
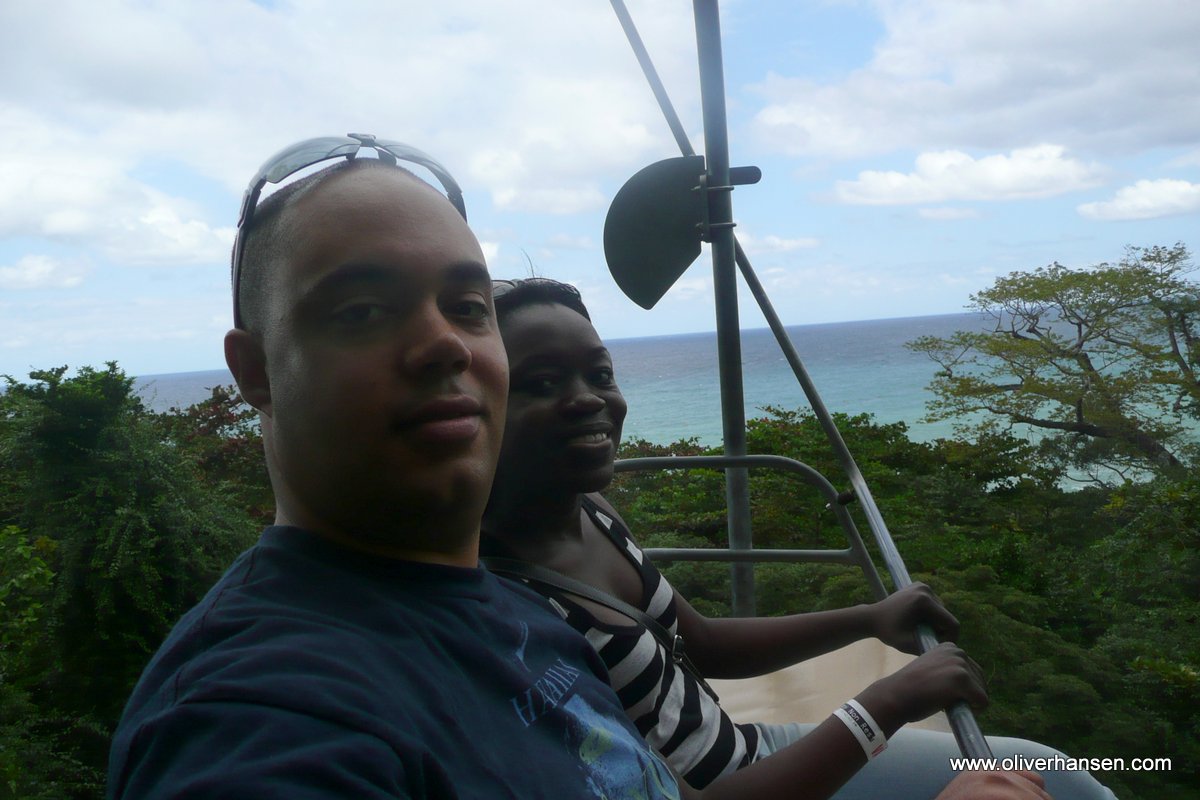
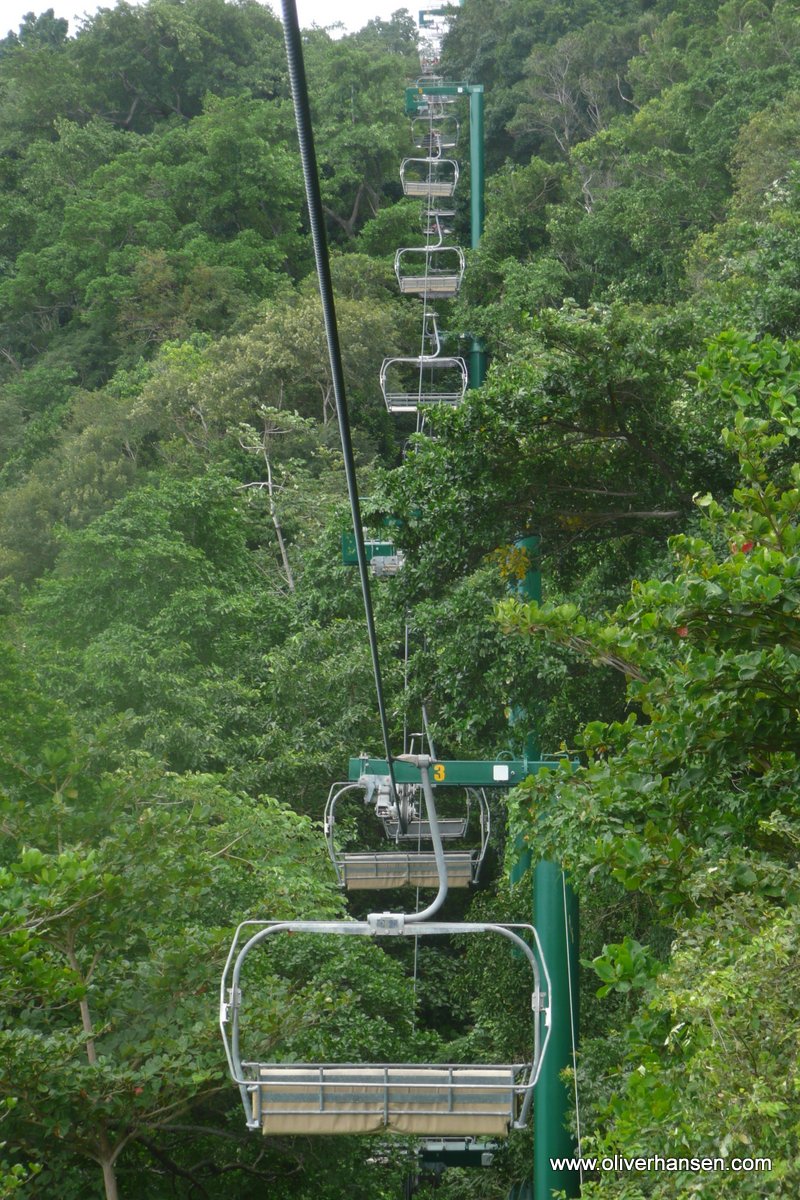
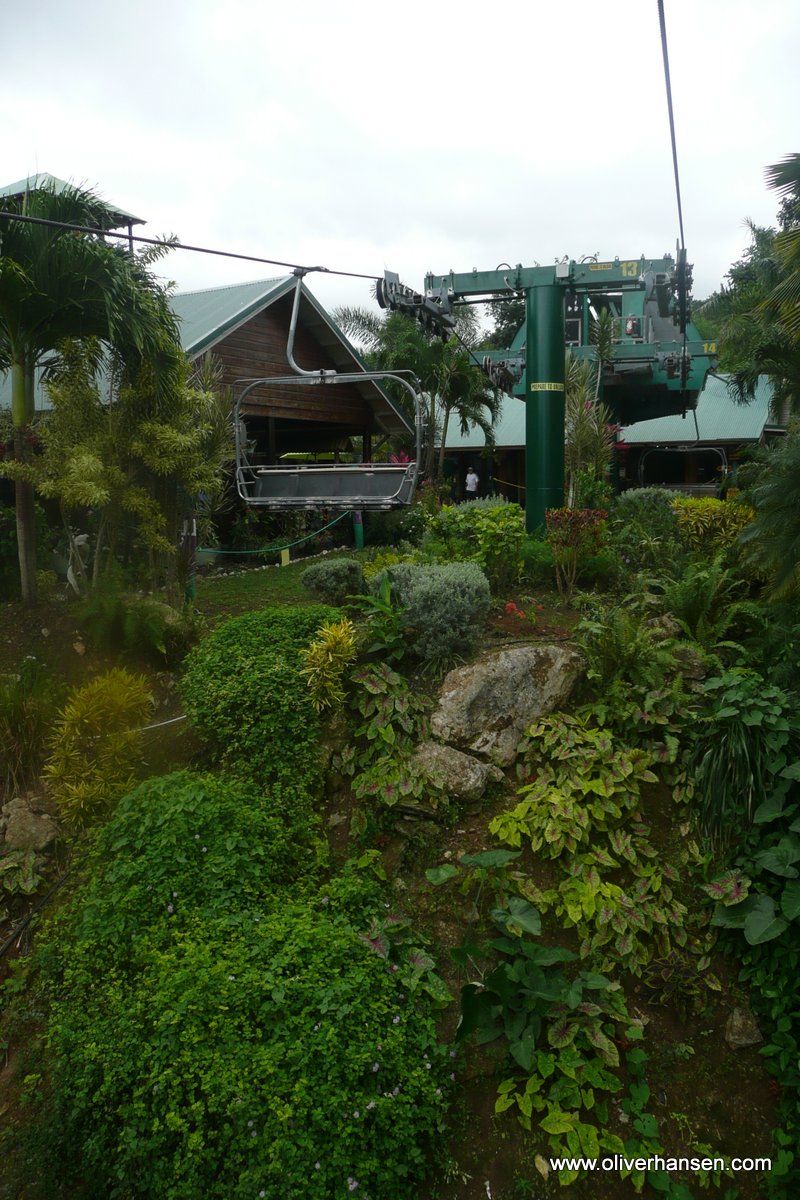
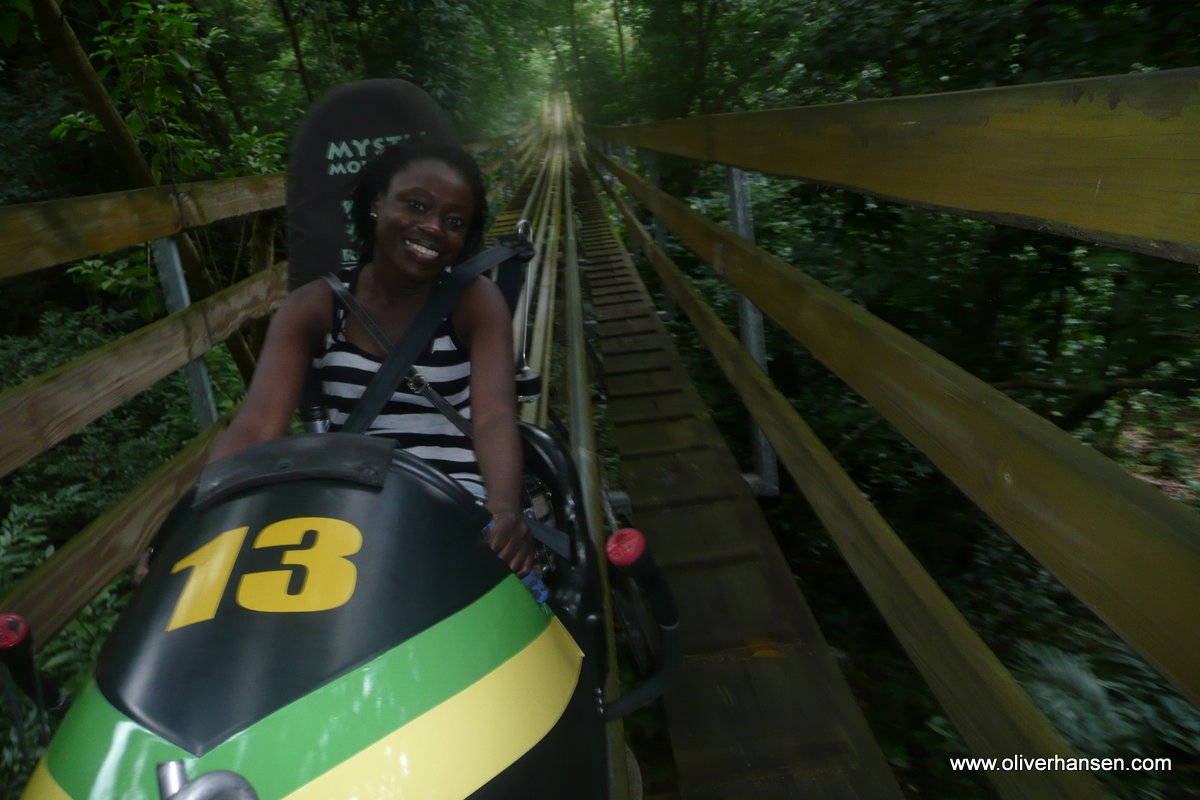
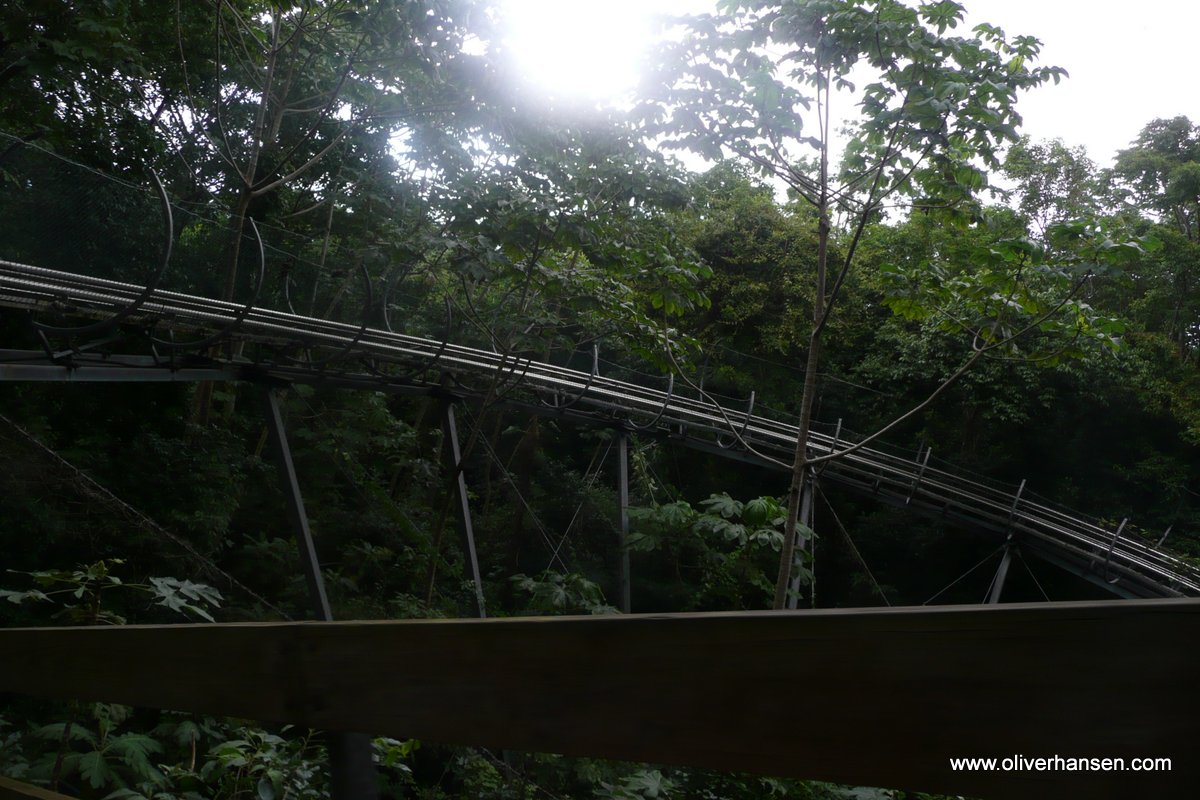
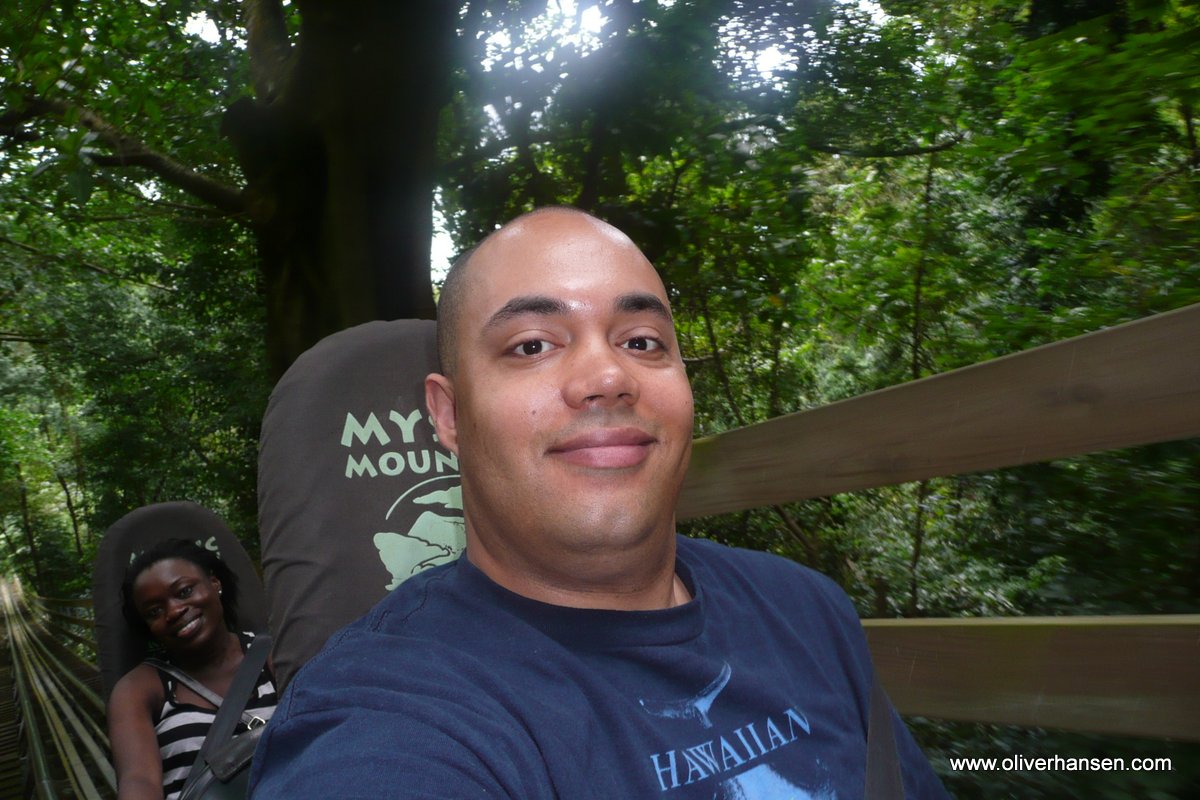
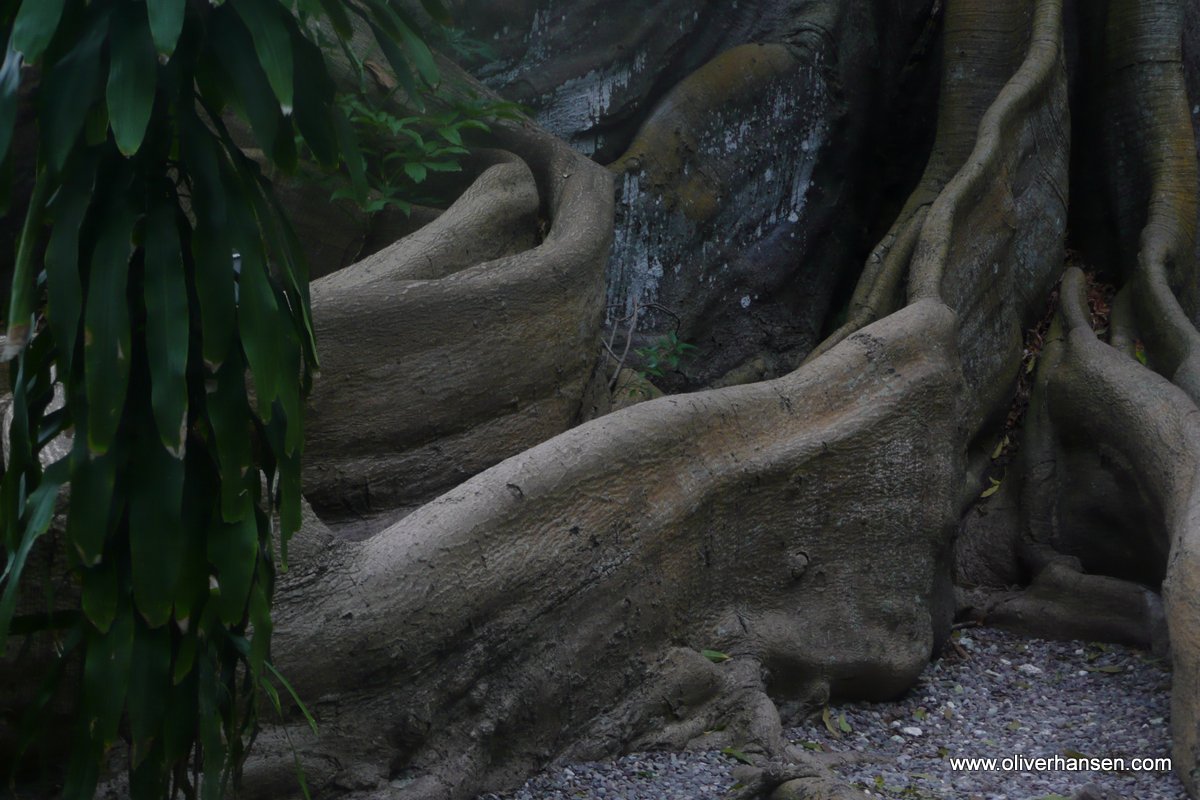
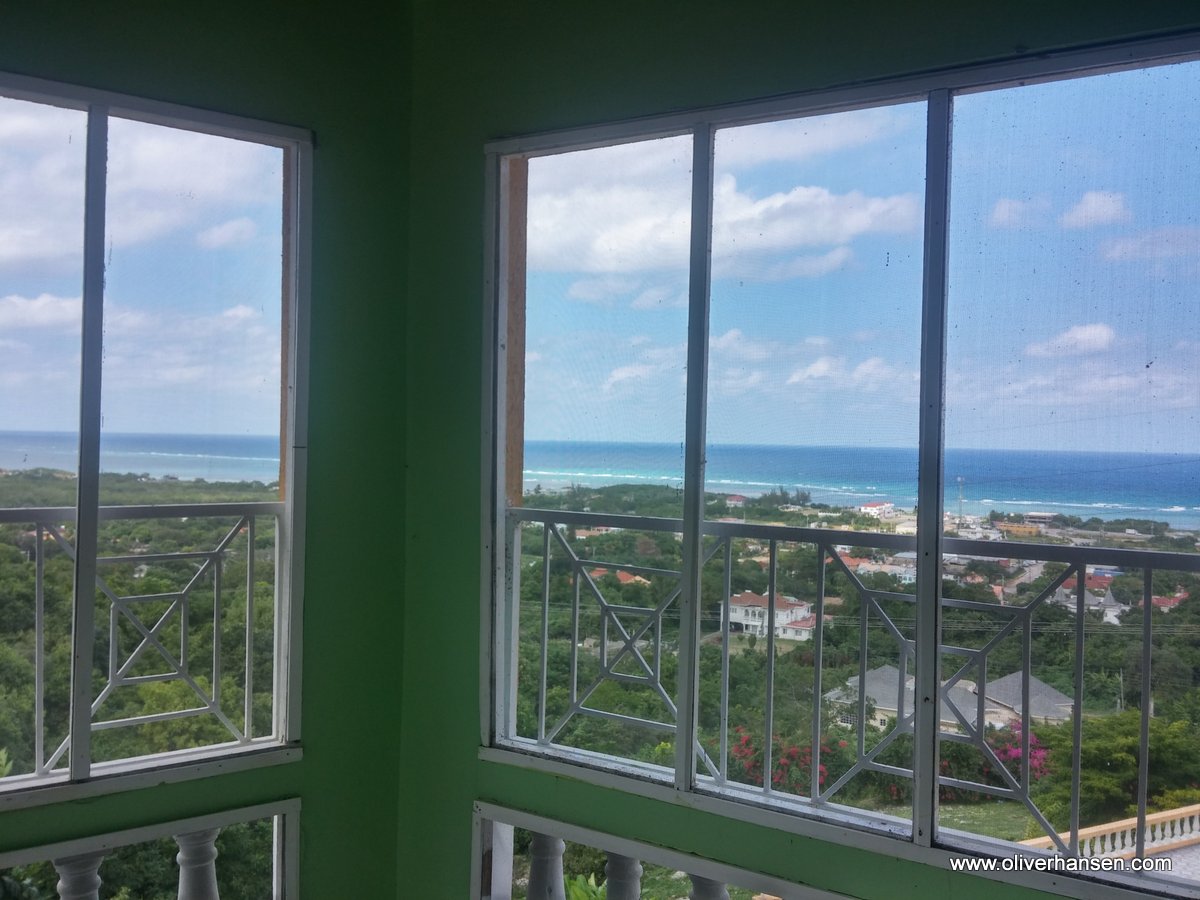
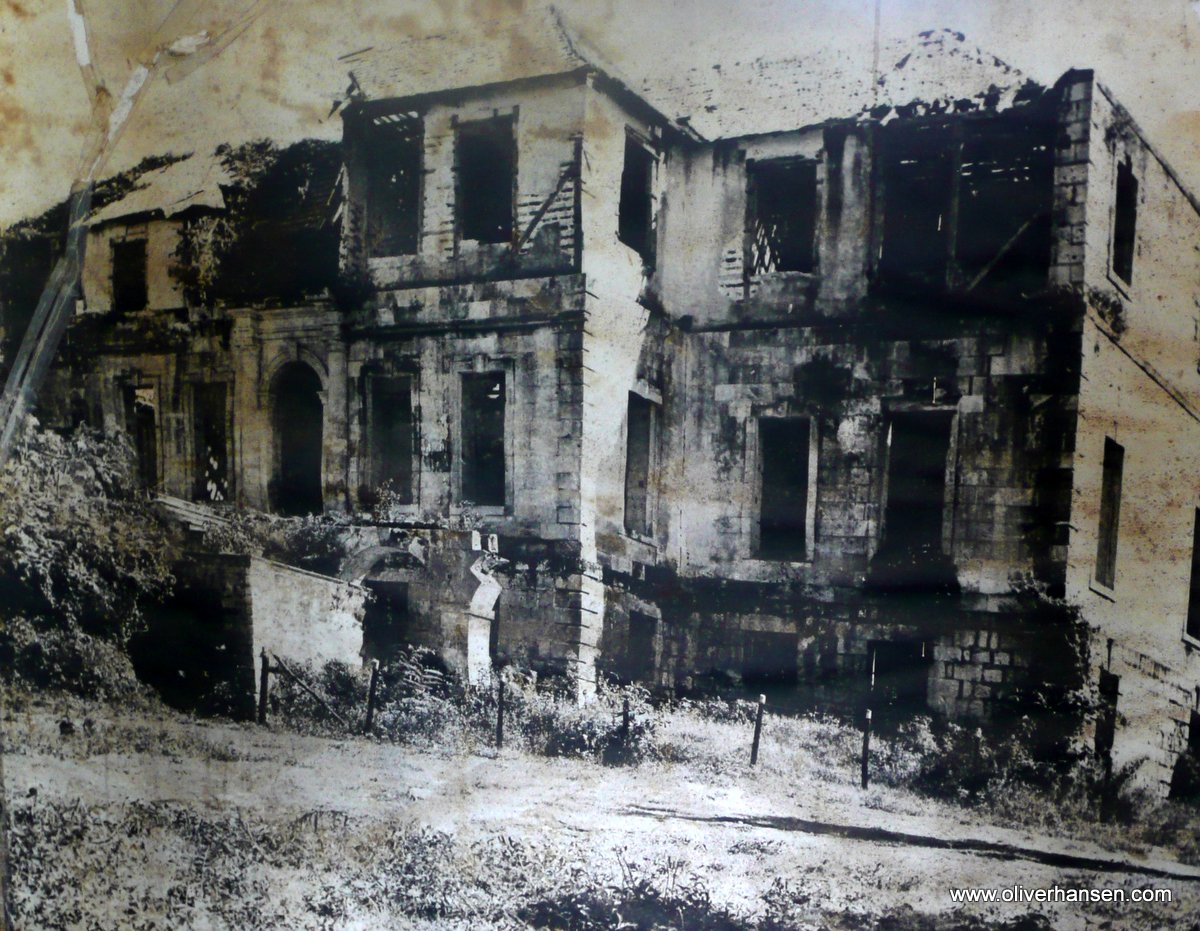
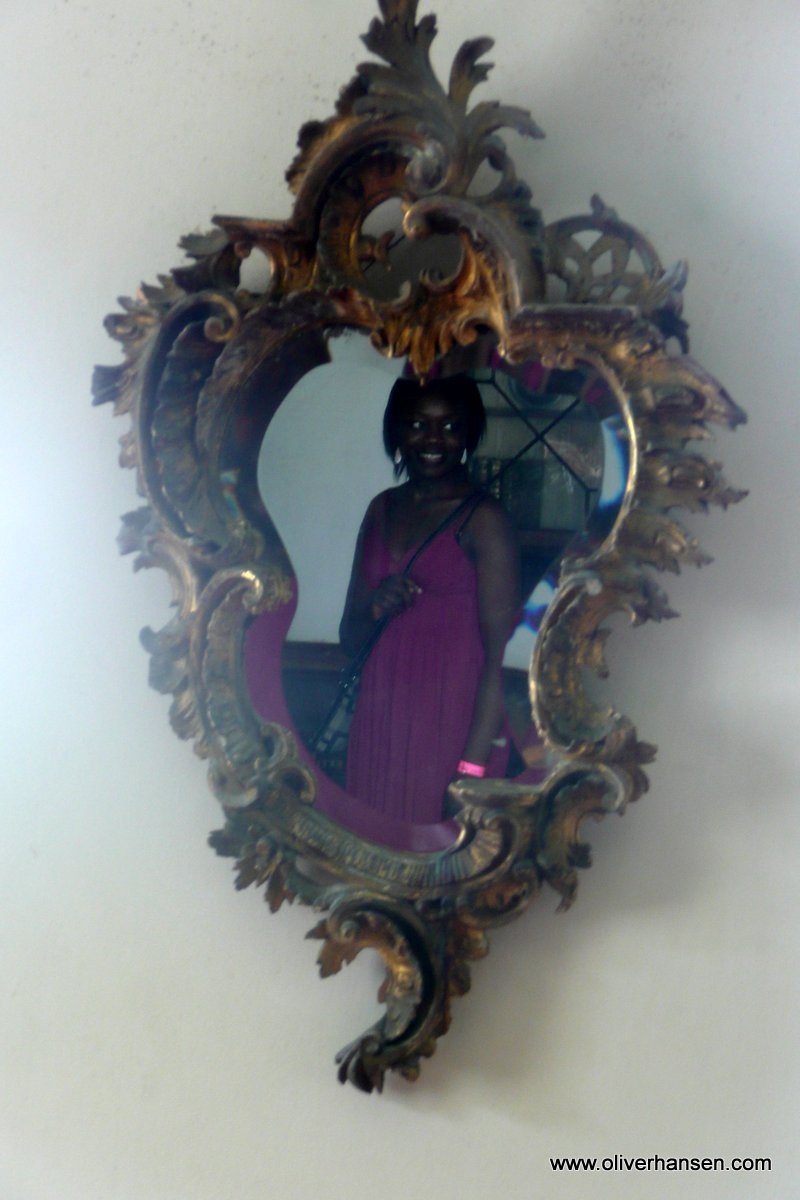
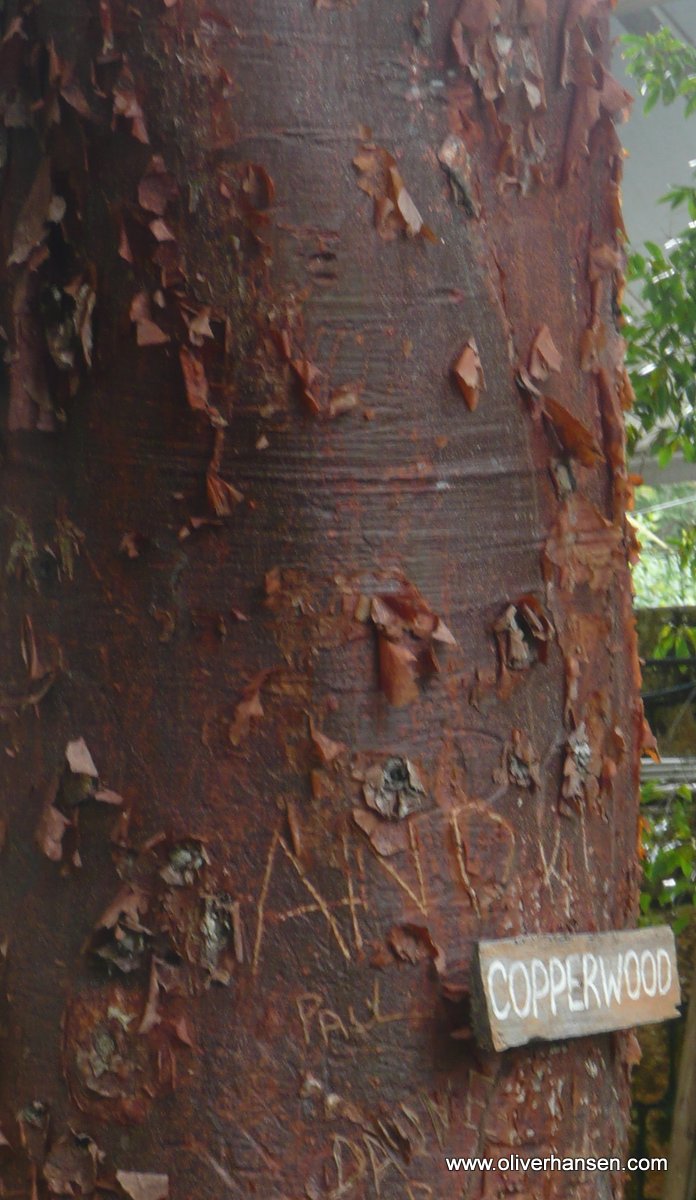
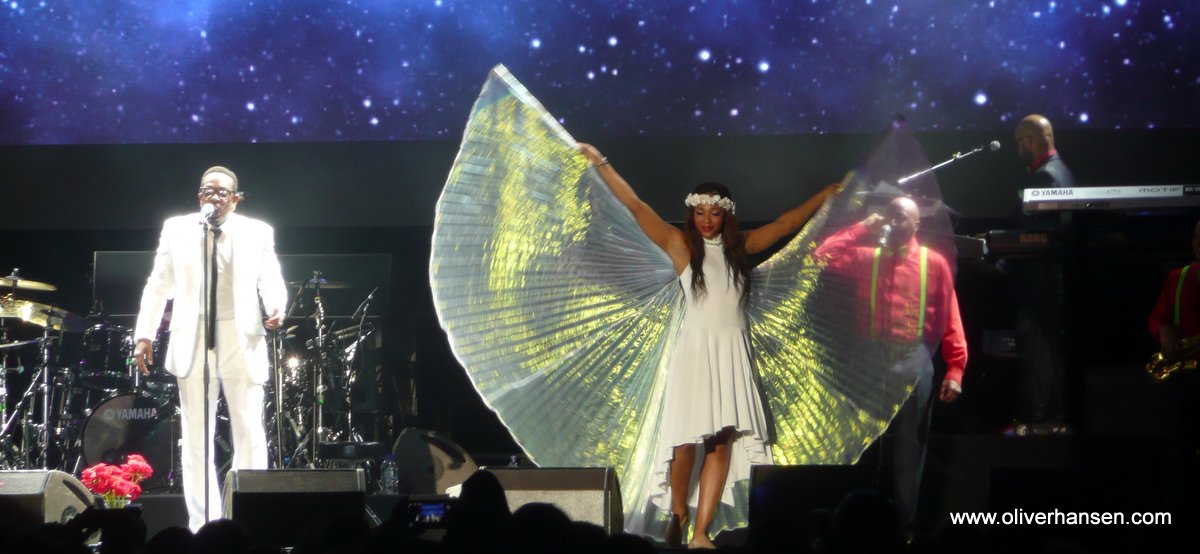
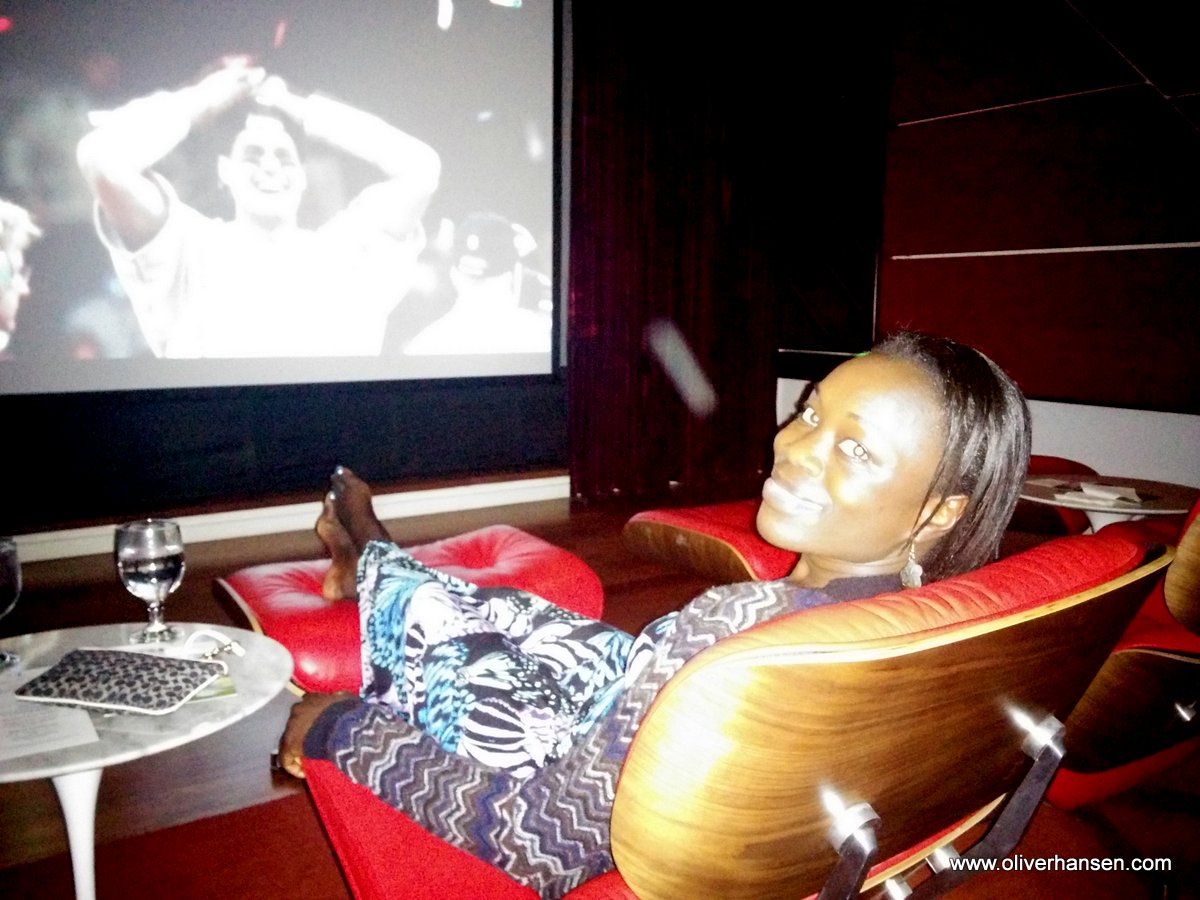
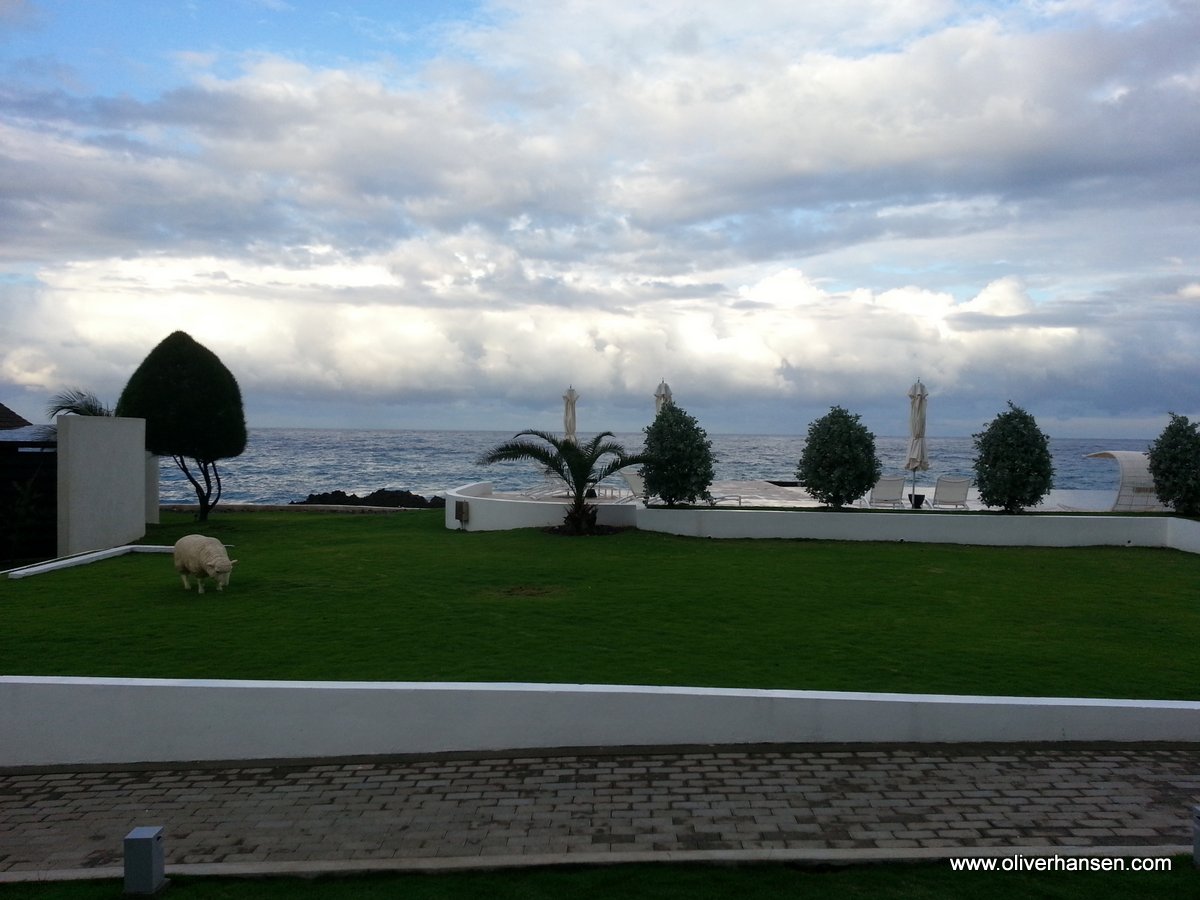
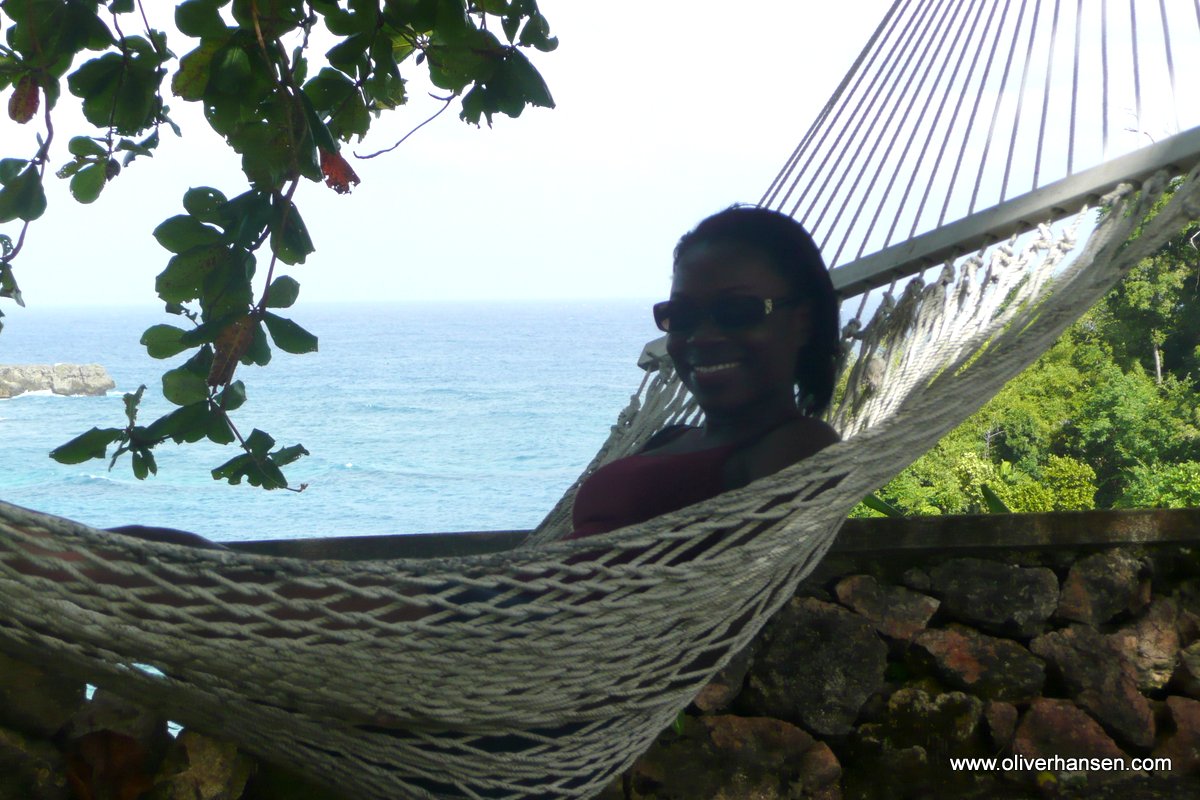
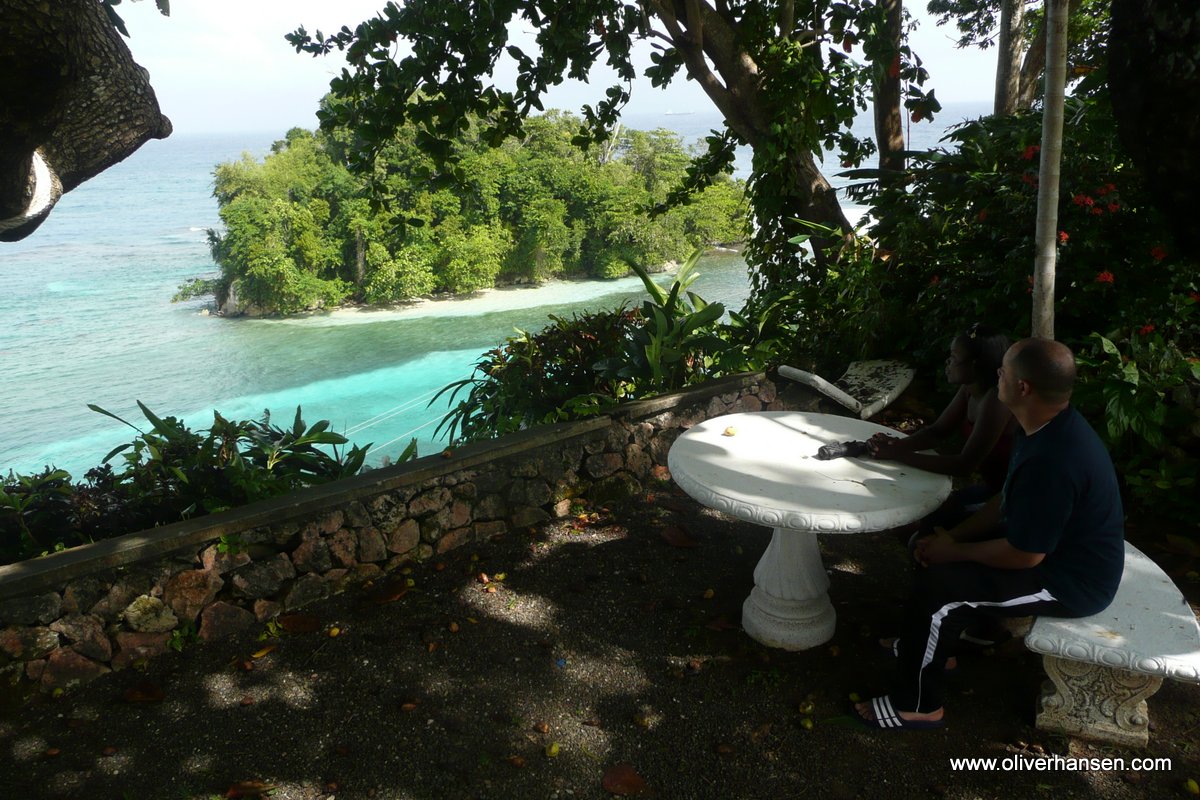
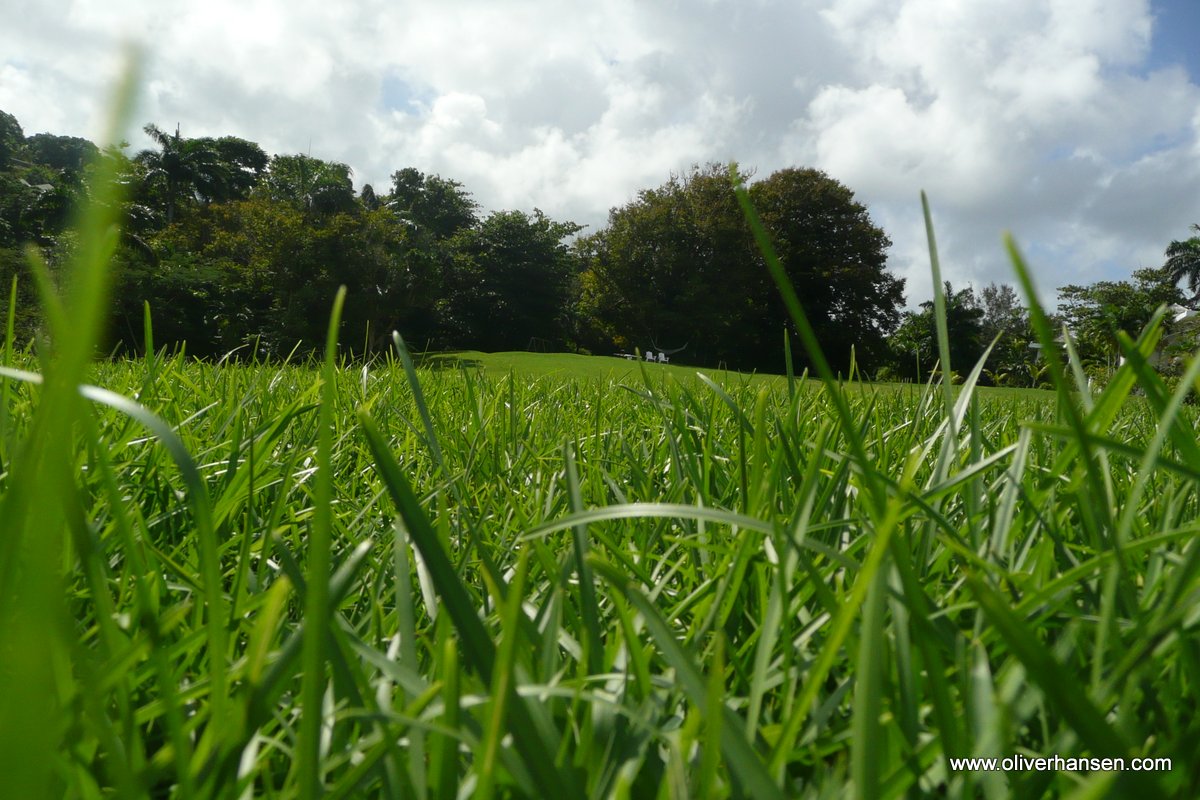
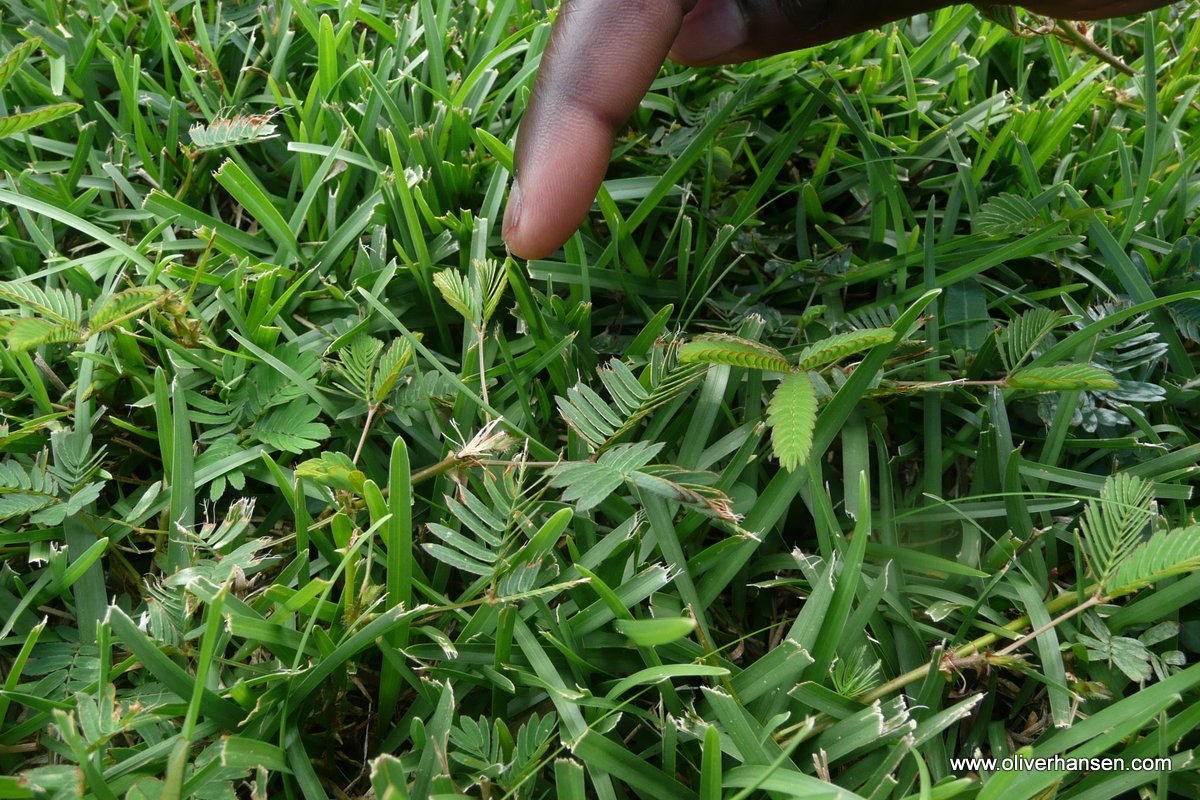
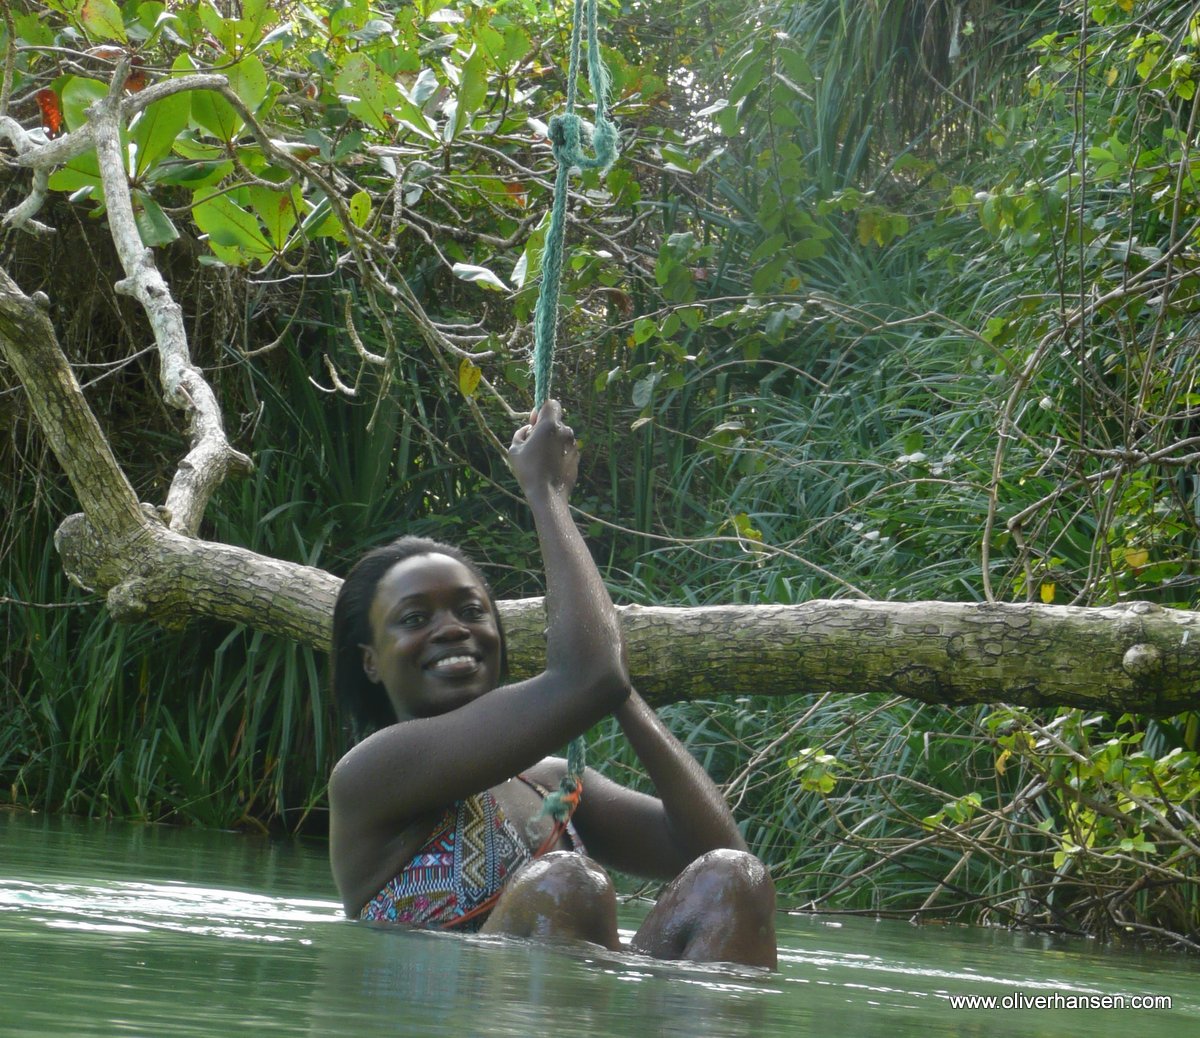
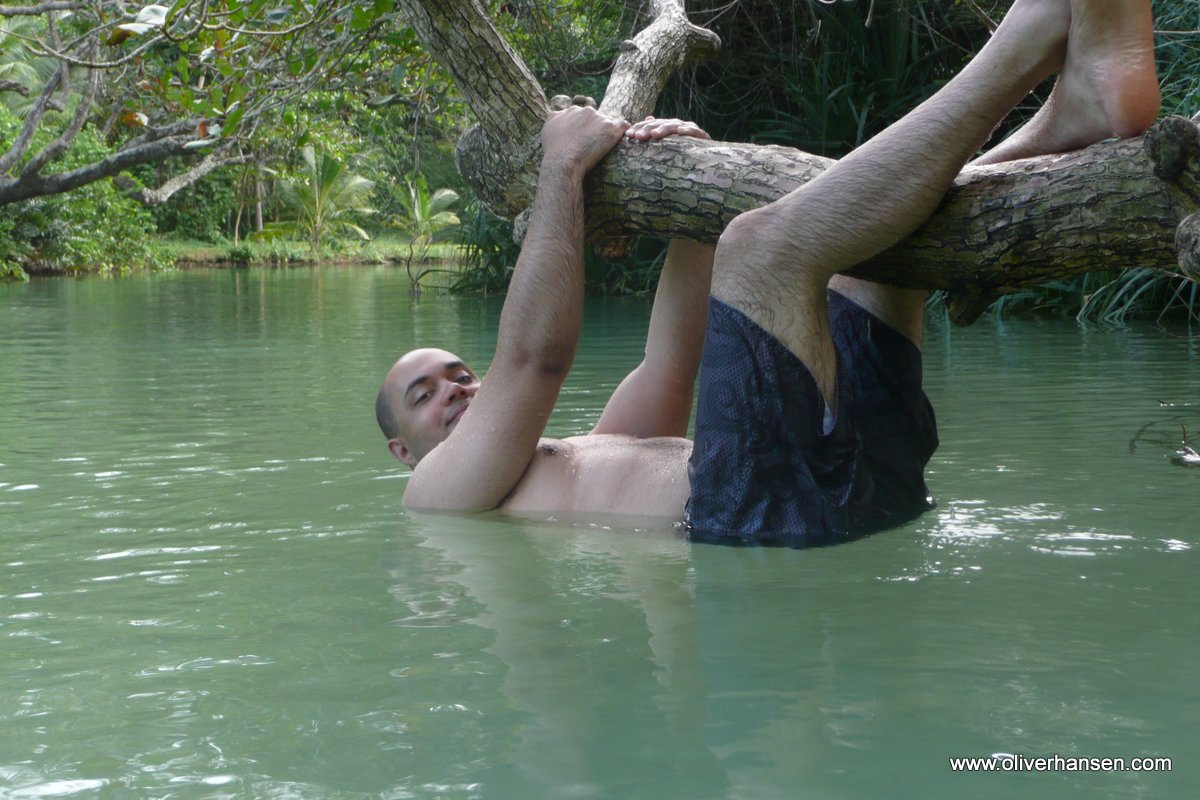
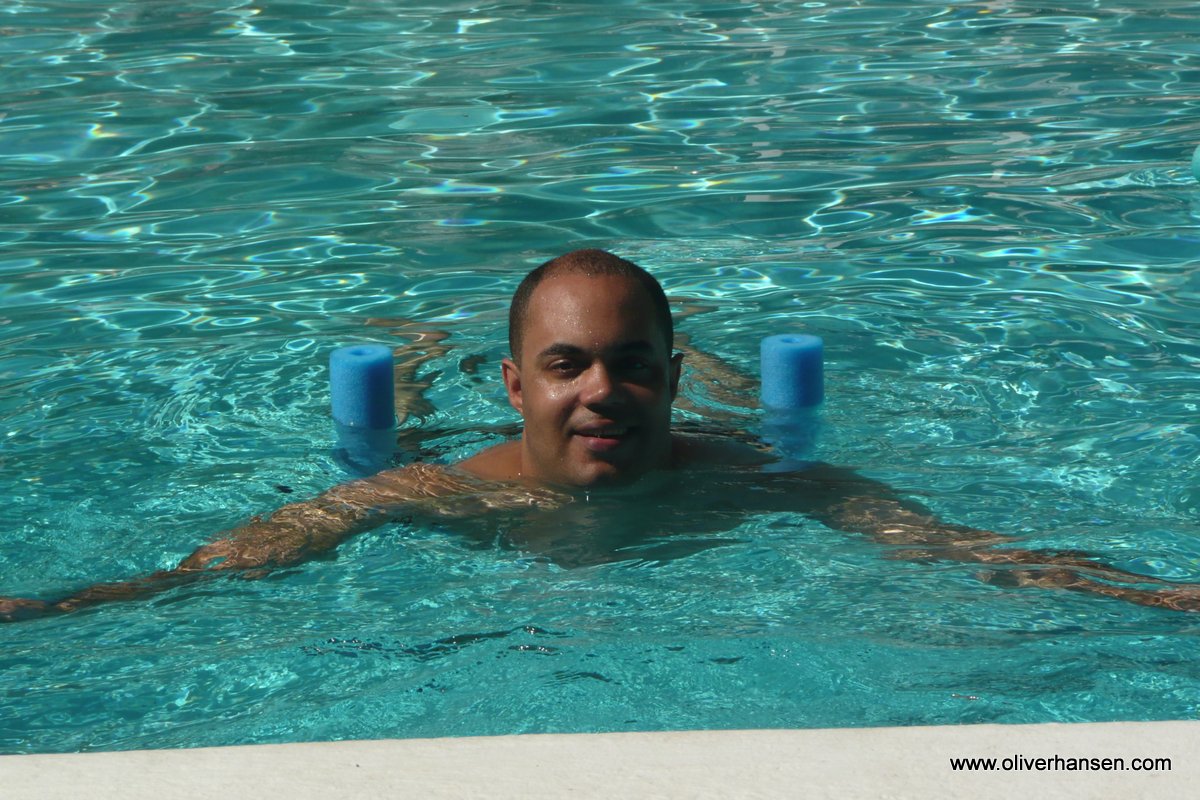
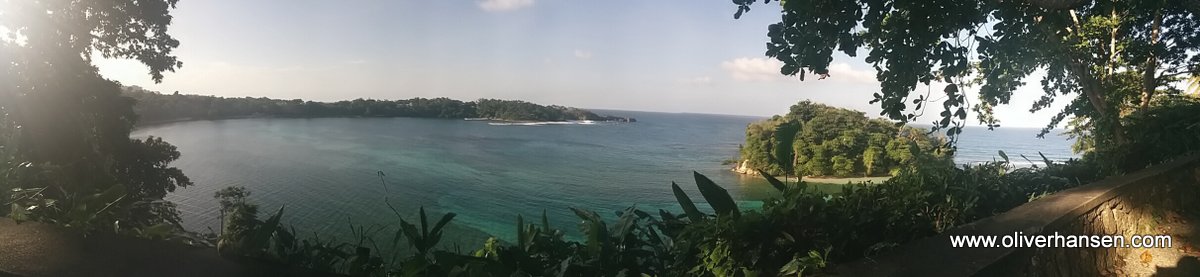
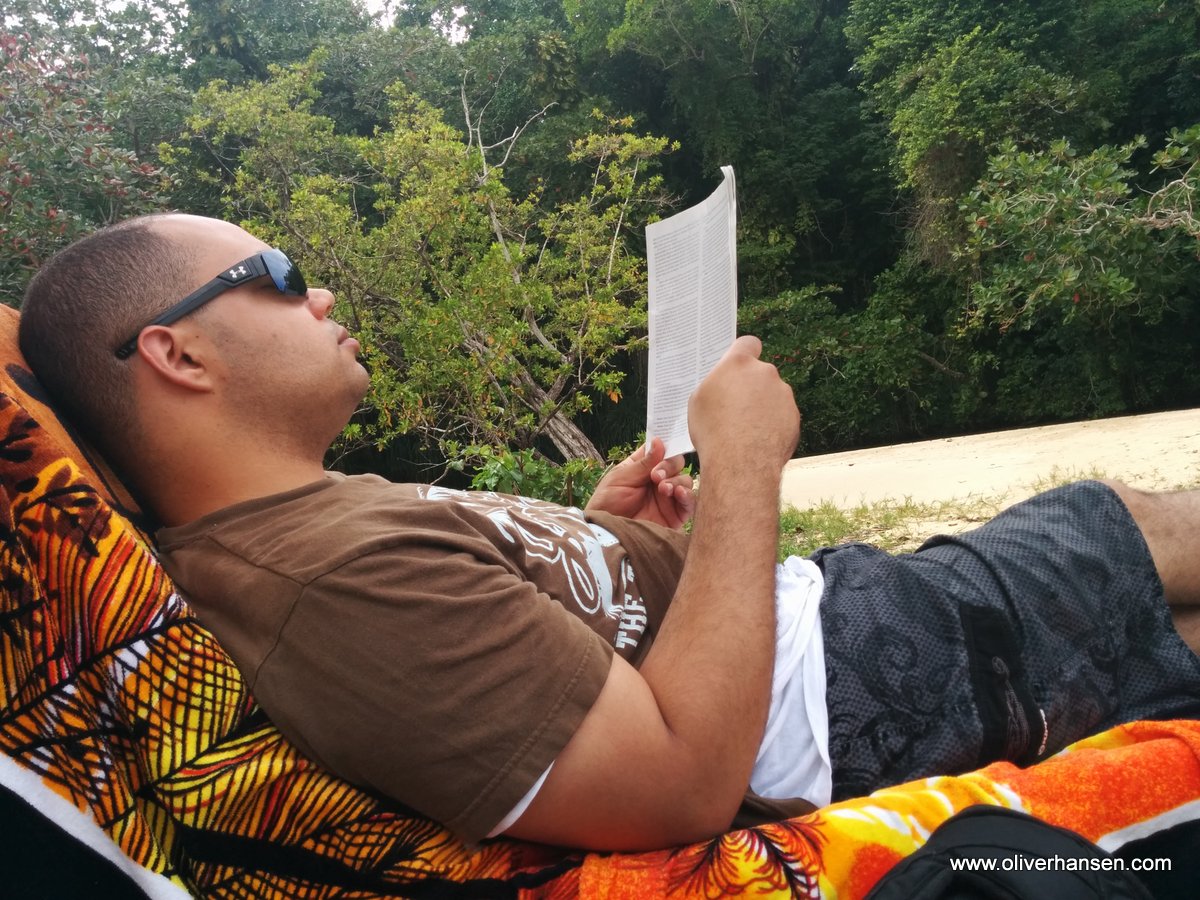
We enjoyed a trip to Jamaica at the end of January 2015. I am posting the photos now. I may or may not get to describing the actual trip so ask questions in the comments and it may prompt explanations. Thanks for visiting!


|
||||
|
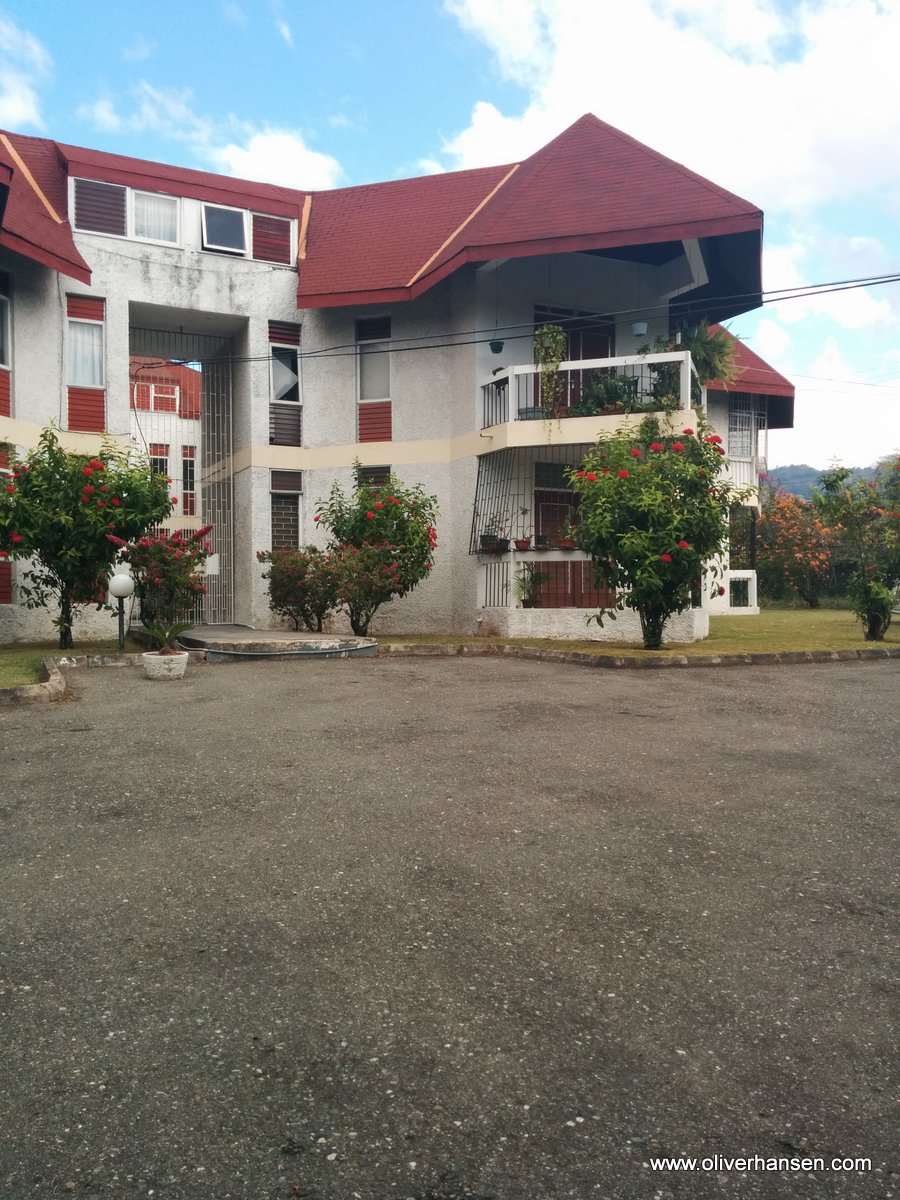
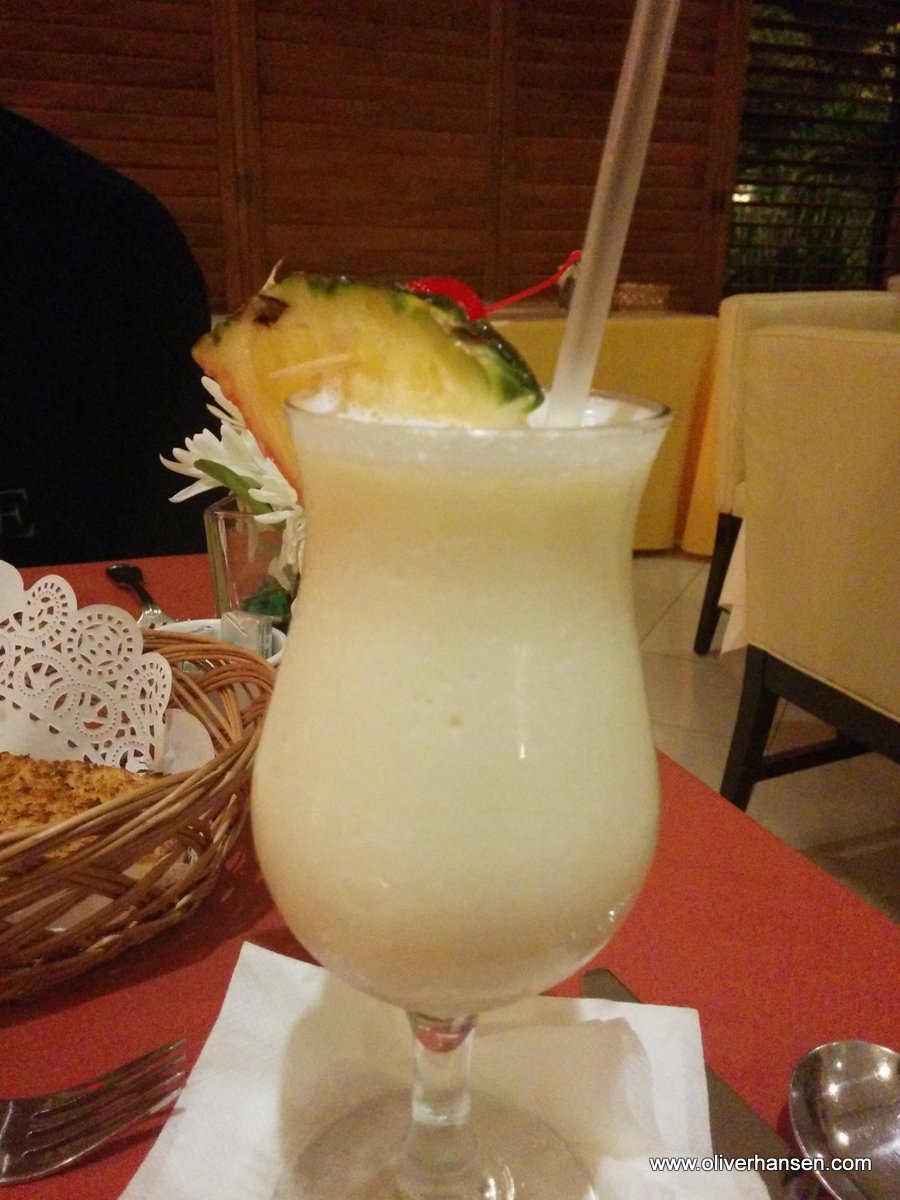
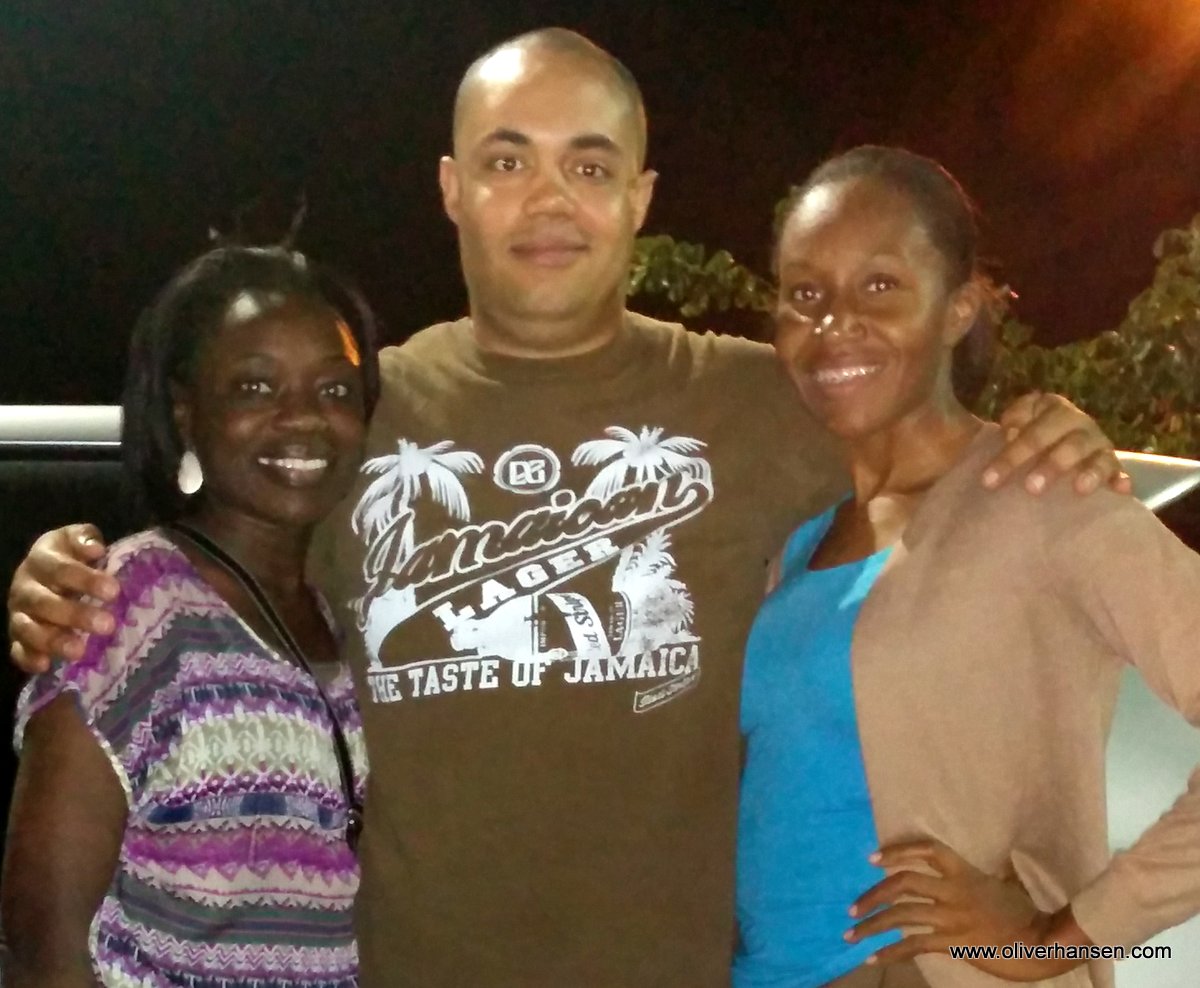
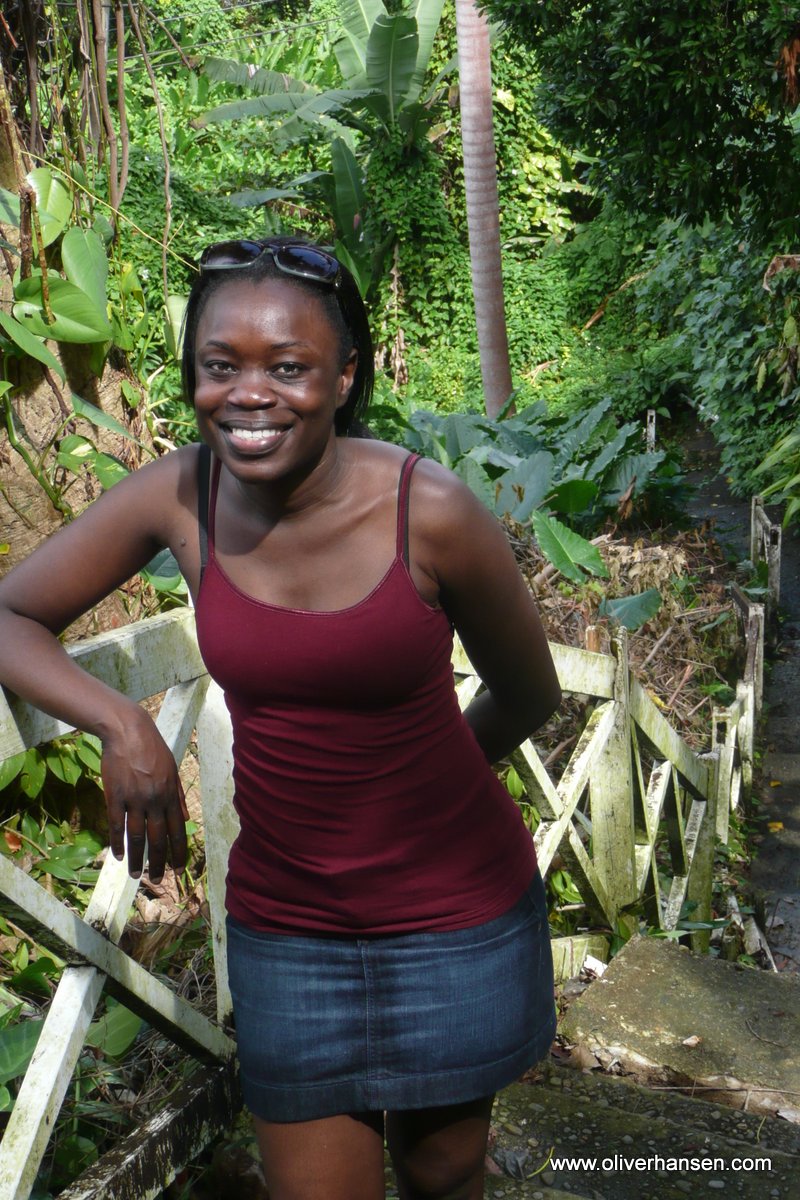
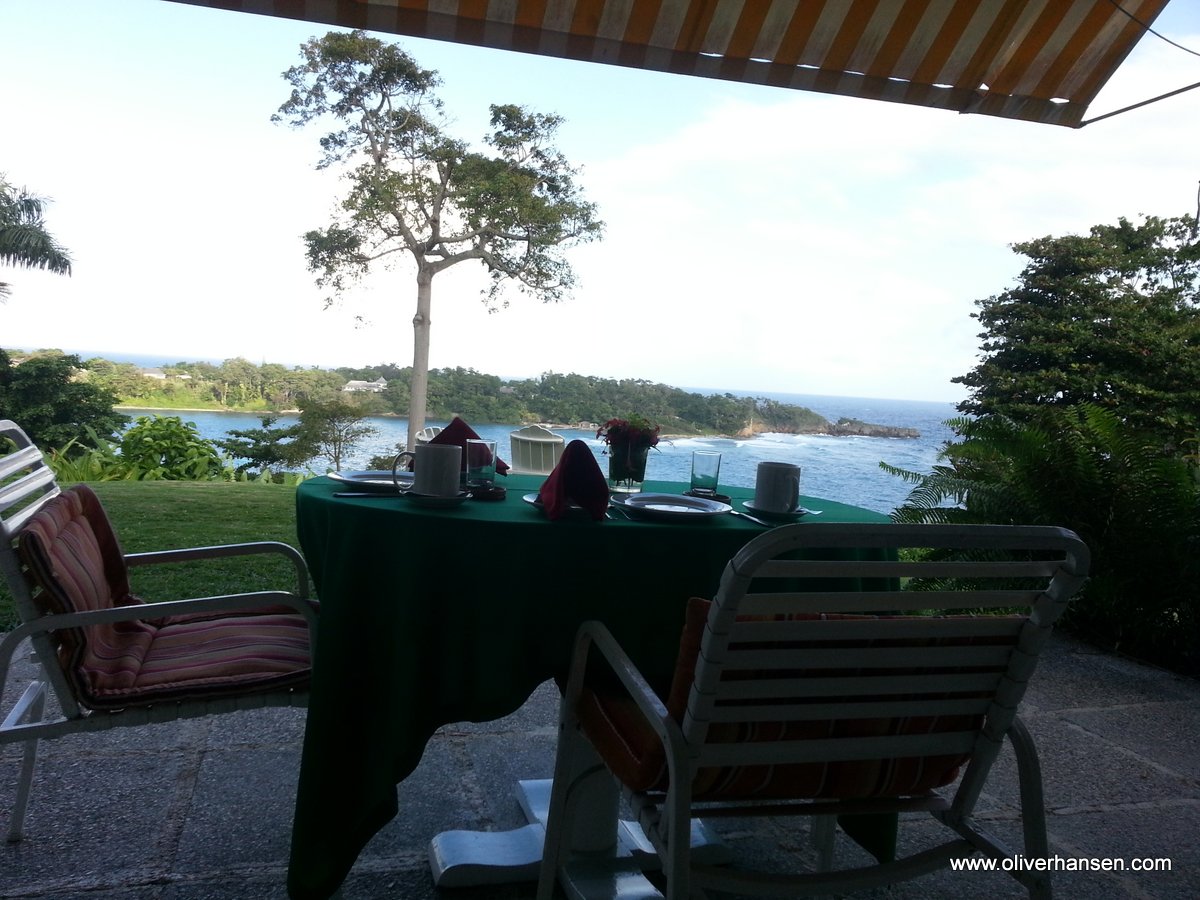
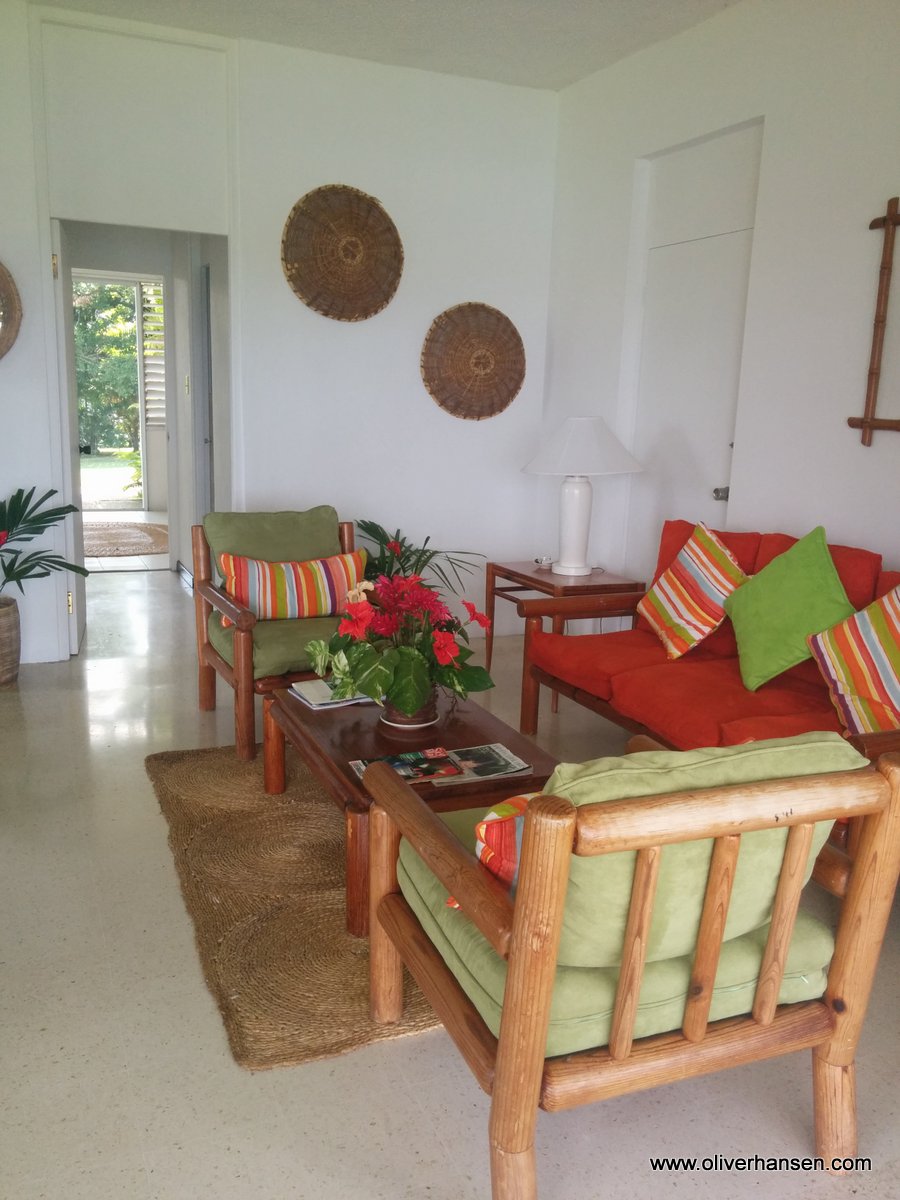
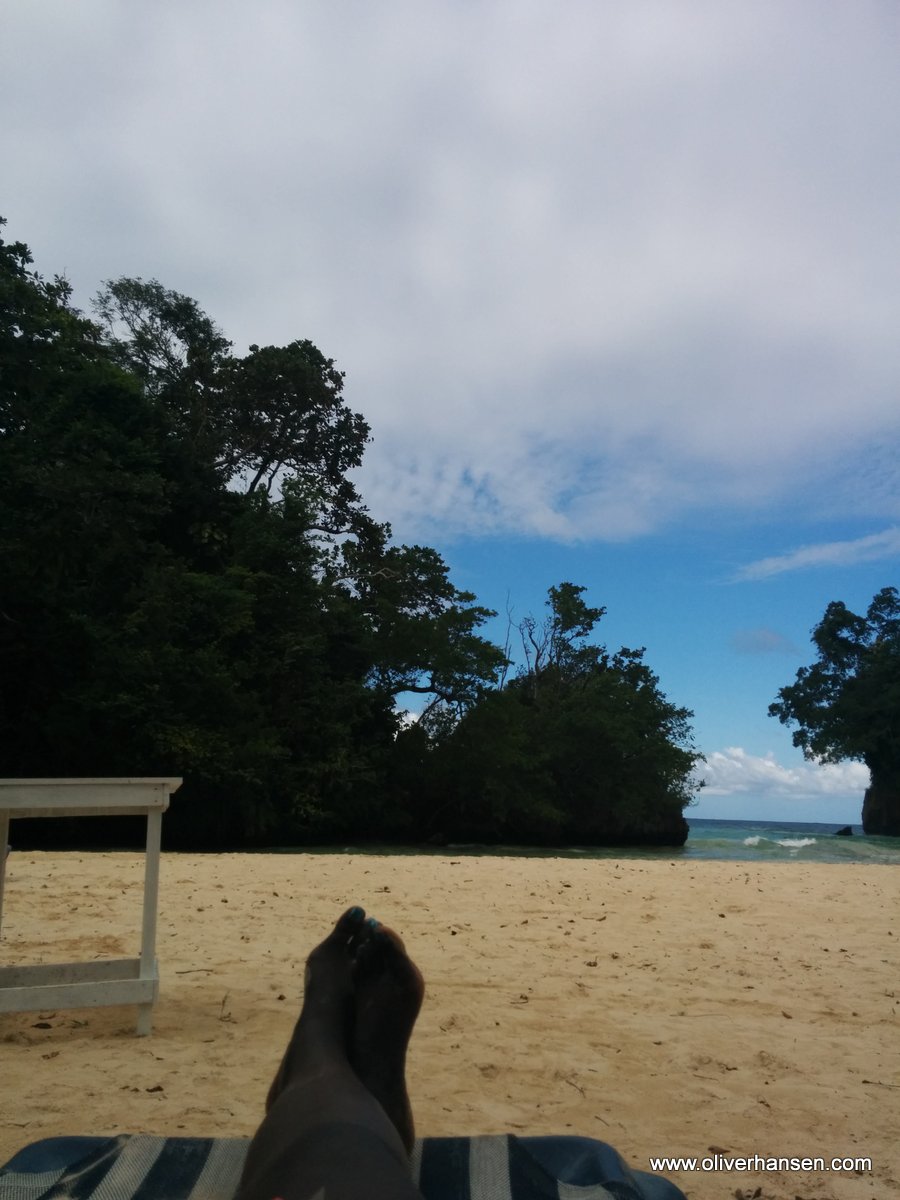
We enjoyed a trip to Jamaica at the end of January 2015. I am posting the photos now. I may or may not get to describing the actual trip so ask questions in the comments and it may prompt explanations. Thanks for visiting!
Juliah and I managed to get away for a couple days this fall. We seem to always wait until the weather is not so great but even though it was cold it was still bright and sunny. We stayed at the Alta Crystal Resort in the Honeymoon cabin. It was really a nice place and what sealed the deal for us was the hot tub and pool which are open year-round. We used the hot tub both nights and it is a wonderful feeling to sit outside in a warm hot tub when it is 30 or 40 degrees outside. Back at the cabin was a nice and warm gas fireplace and a cozy bed. Our main hike was on the Naches Peak Loop which partly runs on the Pacific Crest Trail. It does have a spectacular view although we found the signs lacking and were unsure we were in the right place for a while until we came around the corner and saw the mountain. Another spot we visited was the Grove of The Patriarchs which has some very old trees. It’s a very calm and interesting place. Well, continue reading for photos…
I remember the name Pat Buchanan from when I was younger. My family used to enjoy the 700 Club if I remember correctly. Now to see this guy who recalls segregation with a warm sense of “the good old days”. But then there are people who published this book and those who will buy it and stand in line to get him to sign their copy. It’s amazing that people continue to believe this, uh…. garbage to put it politely.
I found this series quite interesting. I’m not very confident in my own mathmatical abilities but it’s interesting to me to ponder these larger ideas. http://youtu.be/Cw-zNRNcF90
My buddy Patric has always mentioned Snoqualmie Falls as a good place to visit so Juliah and I went out there to check it out. It’s not too far away and it was a nice drive. After that we took the long way home and ended up at Lake Sammamish. We threw around the Frisbee for a while and enjoyed some snacks before finally heading home. Photos next…
|
||||
|
Copyright © 2023 Oliver Hansen - All Rights Reserved |
||||